
The ability to access all or specific tasks in a Production Schedule is critical to supporting project production optimization efforts. To enable this, the Lookahead report provides access to this information in a tabular format allowing for data filtering through several parameters.
To access the Lookahead report, complete the steps below:
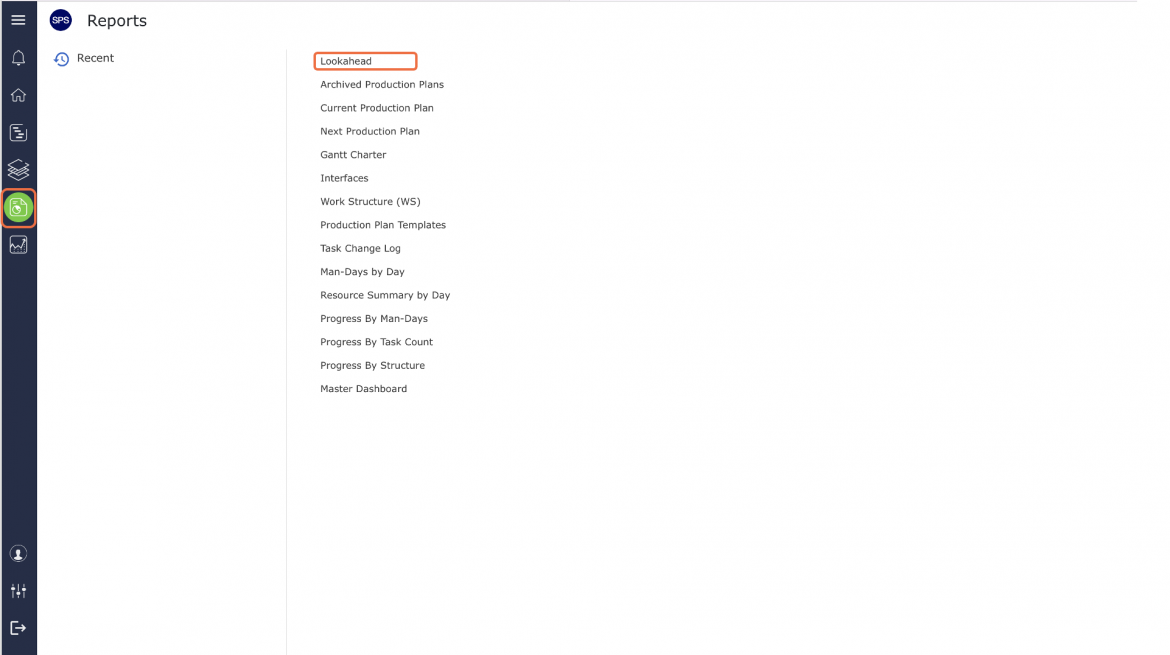
- From the Main Navigation Bar select the Reports, then select Lookahead.
- The Lookahead report opens in a new window and automatically displays the report for the team selected under the Team Menu. Click the Show / Hide Filter button to display or hide the filters above the report.
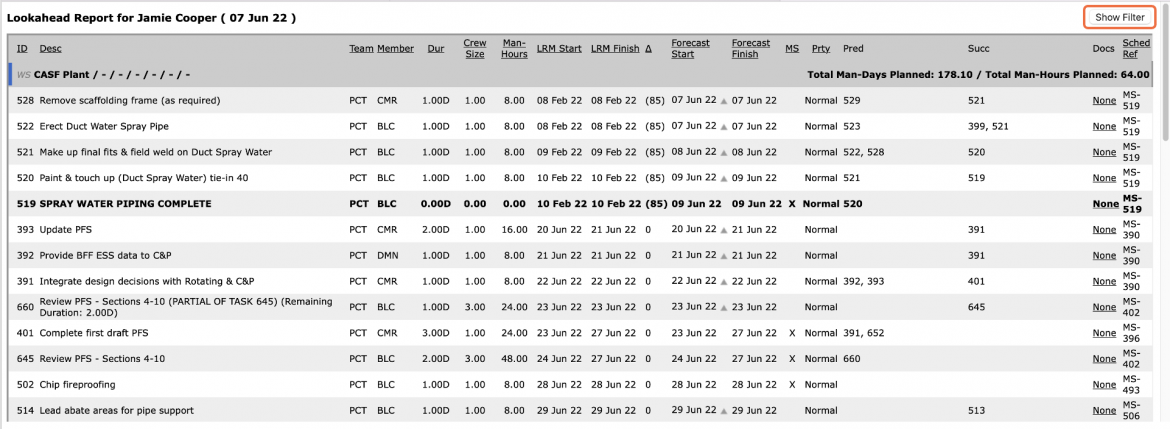
The Lookahead report contains the same information as the Lookahead view, with some minor differences in page layout mainly for printing purposes. As in the Lookahead view, Milestones / Tasks on the Lookahead report can be filtered and sorted in order to focus on the specific set of tasks you wish to view and print.
- Select Work Structure, Member, Milestone / Task Status, and any other attributes, in addition to date range, to filter for the desired data.
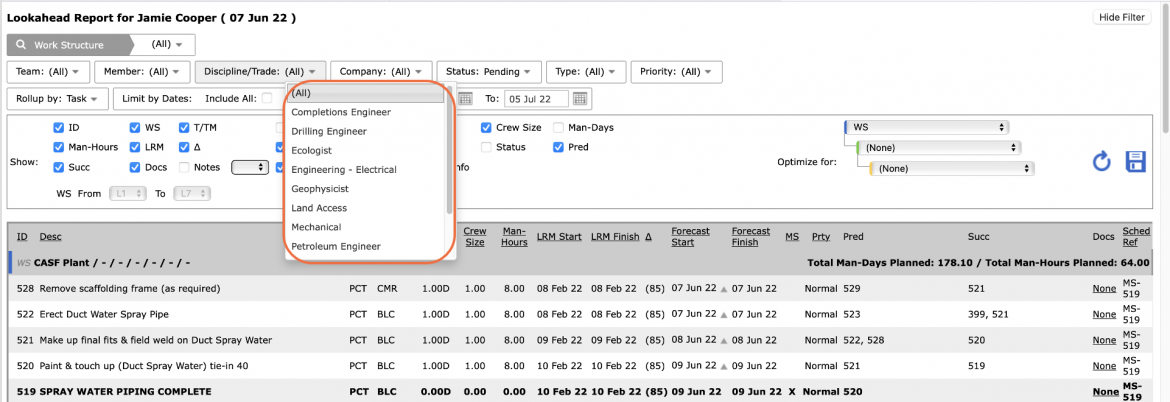
- Sort the data by clicking on any of the underlined column headings according to the structure and attribute values selected in the Optimize for drop-down.
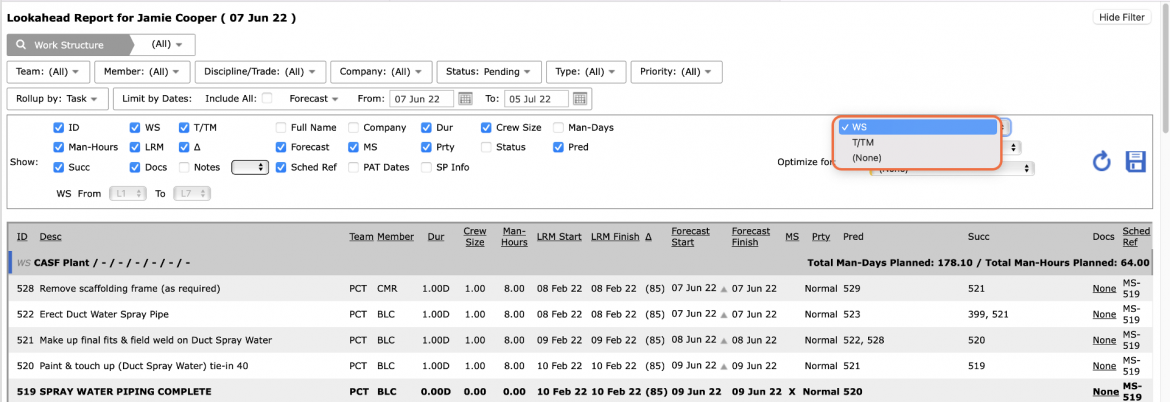
Alternatively, to unlock the use of predefined structures and attributes, in the Optimize for drop-down select “(None).” This allows clicking on any column heading to sort in ascending order and clicking a second time to reverse the sort.
- Reports for other teams can also be viewed by changing the team name in the Team drop-down. As with other reports, no editing of Milestones / Tasks is possible on the Lookahead report, simply the ability to view, filter and print. All editing must be performed in the Lookahead view, Lookahead (Gantt Chart) view, Gantt Charter view, or Lookahead (Network Manager) view.
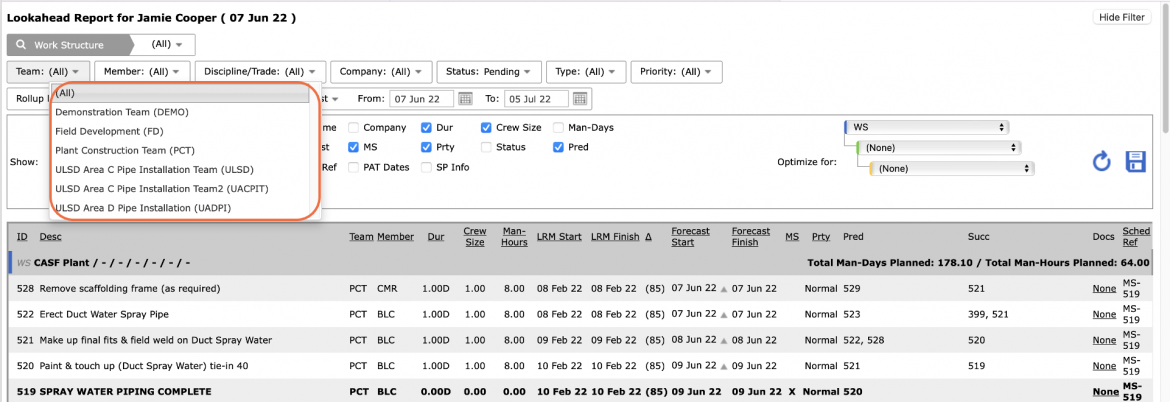
- Access to printing menus may vary depending on your browser. For instance, if you are using Internet Explorer, to print the Lookahead report, right-click anywhere on the Lookahead report and select Print from the menu or simultaneously press the Ctrl and P keys on your keyboard as shown in the image below.
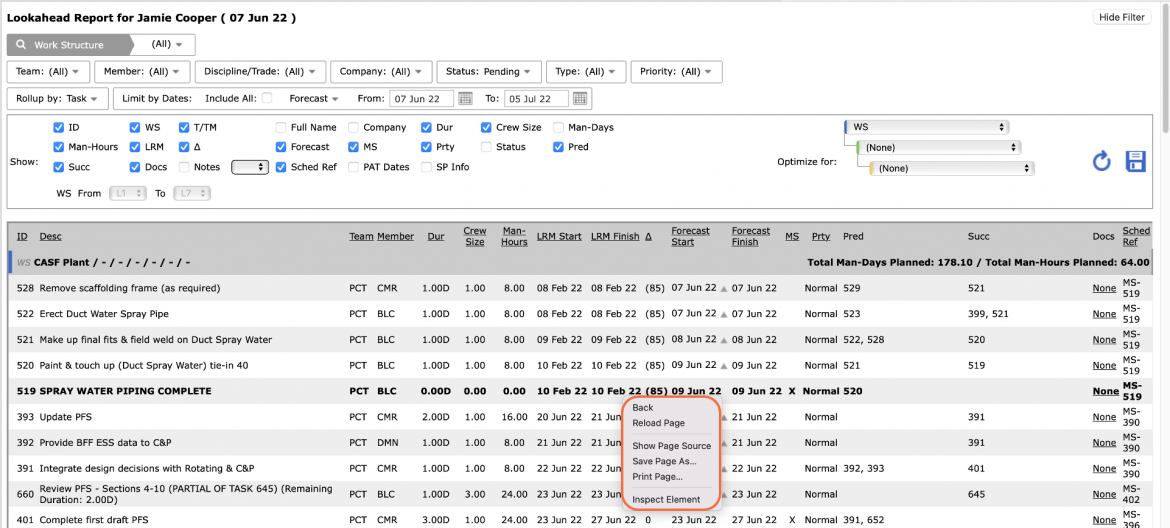
- The Print Dialogue box opens.
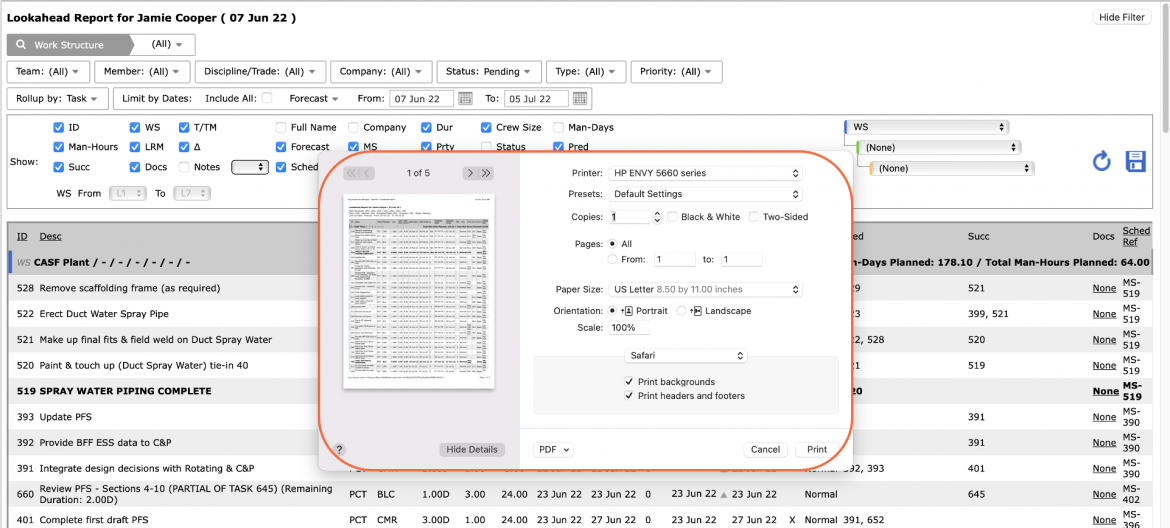
Using the Print Dialogue box, change any desired print settings. Once all relevant printing settings have been modified, click the Print button.
Note: Before printing the report, it is recommended you confirm whether the report fits the desired paper size.