
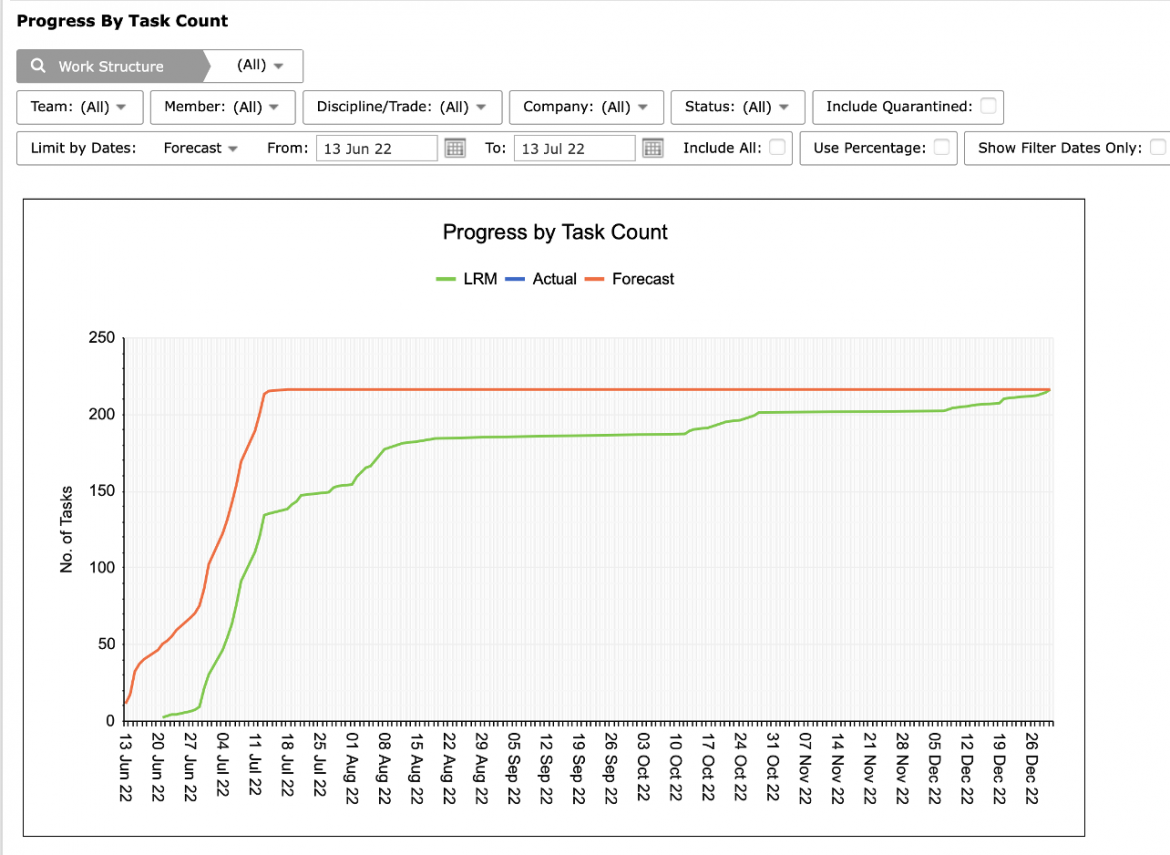
As tasks are added to Production Schedules and completed on a regular basis, progress can be measured by comparing the total number of tasks in the Production Schedule (according to selected filters) with the number of tasks already completed. SPS|PM does this through its Progress by Task Count report.
To access the Progress by Task Count report, complete the steps below:
- From the Main Navigation Bar select Reports, then select Progress by Task Count.

- The Progress by Task Count report opens in a new window and automatically displays the report for the team selected under the Team Menu.
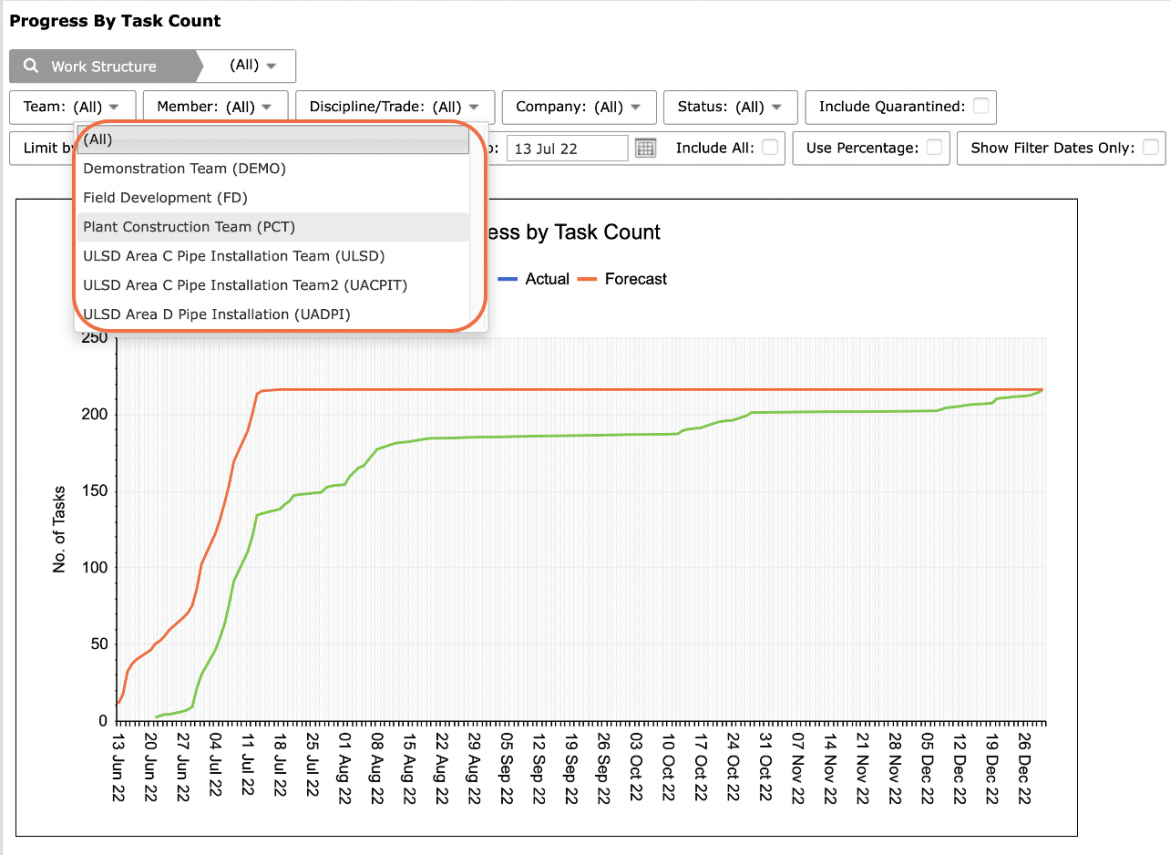
- To view the Progress by Task Count report for another team, select the desired team under the Team drop-down.
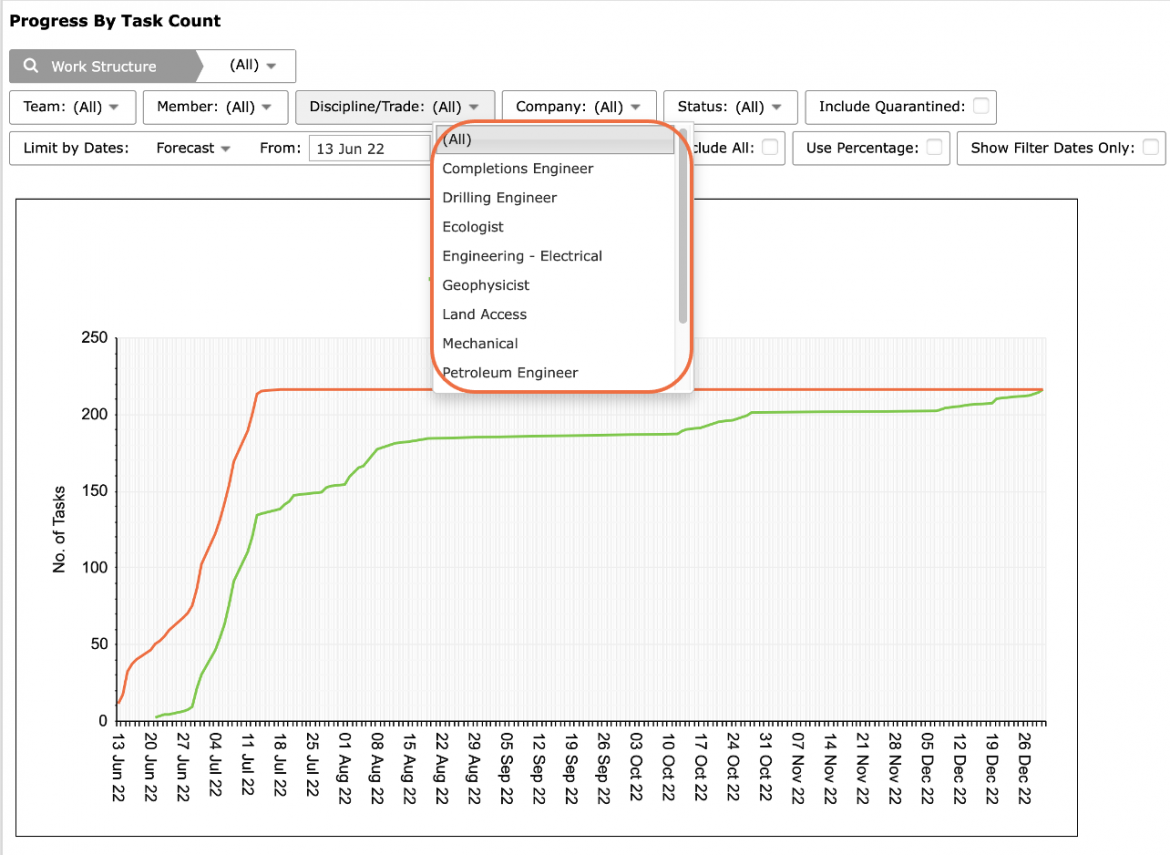
- Select Work Structure, Person, Discipline / Trade, and any other attributes, in addition to date range, to filter for the desired data. The dates can either be limited to a certain start date (From) and end date (To) or can include all future tasks for the project team if Include All is checked.
The legend elements, Number of Tasks Completed and Total Number of Tasks, are clickable and toggle to display / hide data.
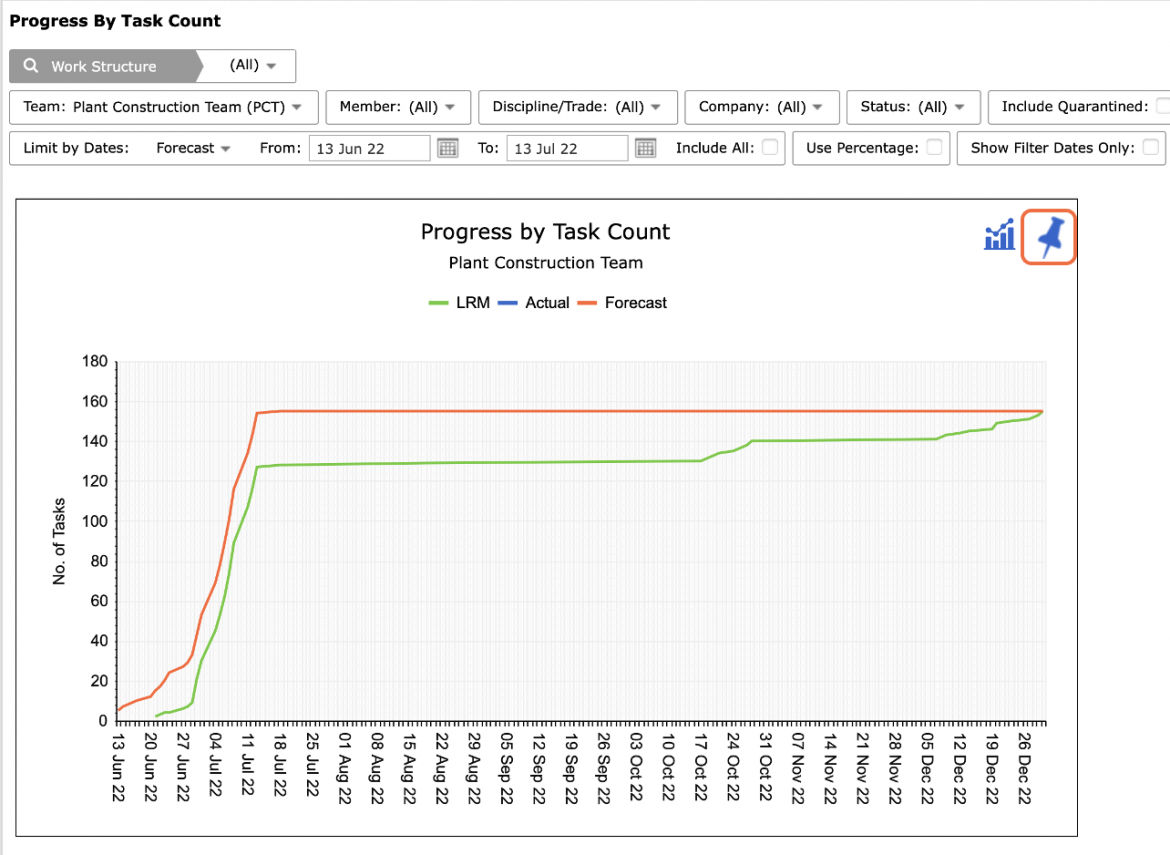
- Also, use the Pin icon in the top right of the graph to include the Progress by Task Count report in your Dashboard.
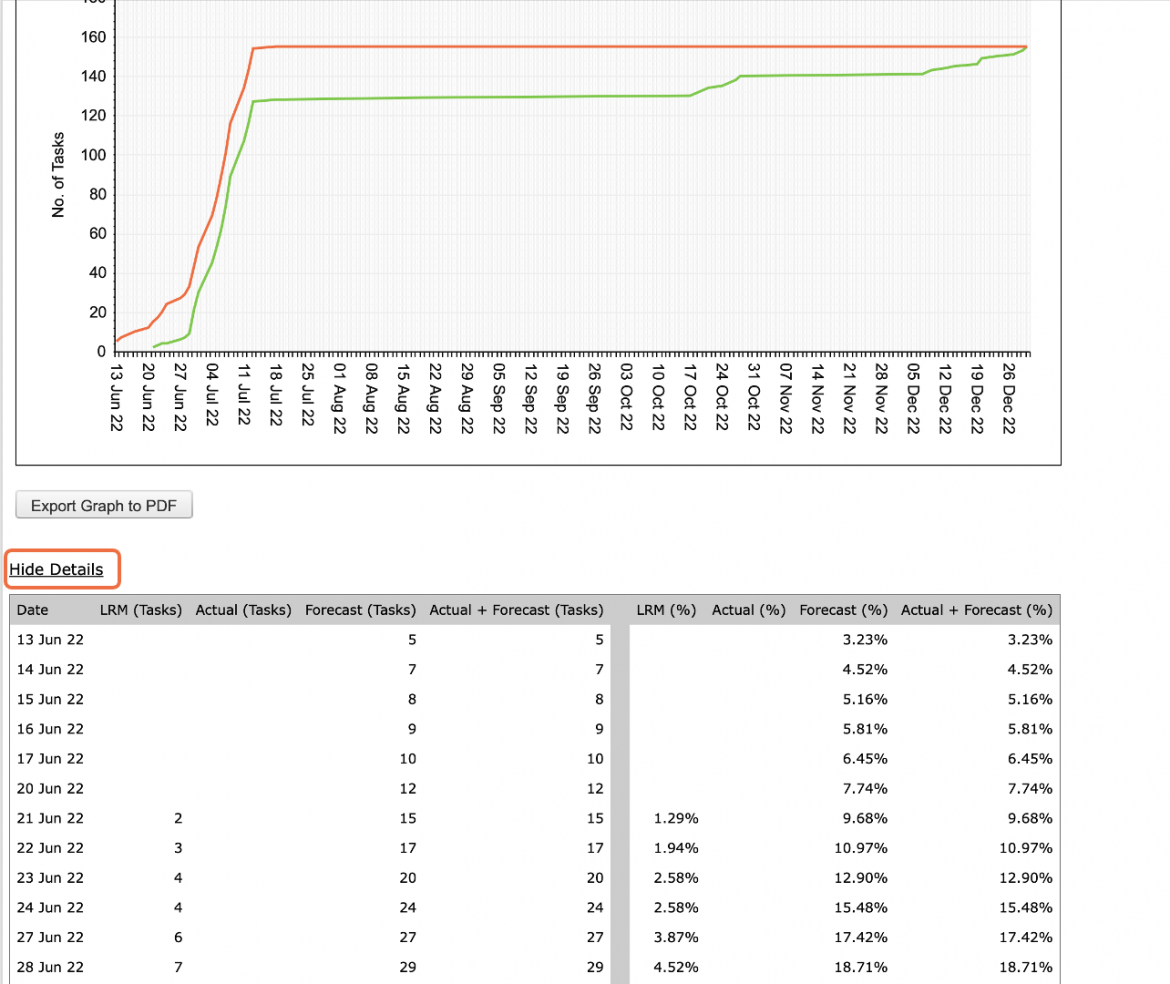
- To view the specific task values and percentages, click Show Details beneath the graph.
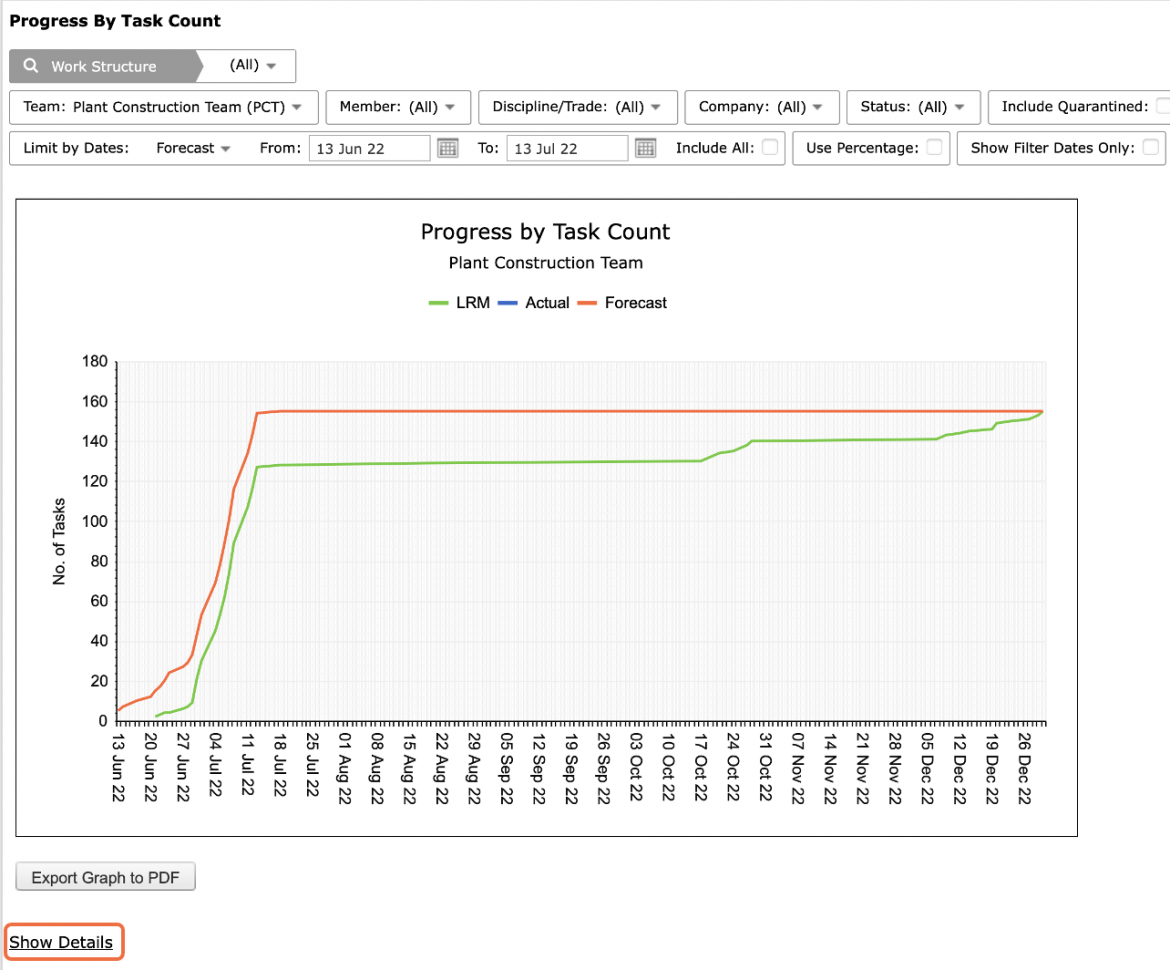
- The task values and percentages display below the graph. To hide the values, click Hide Details.
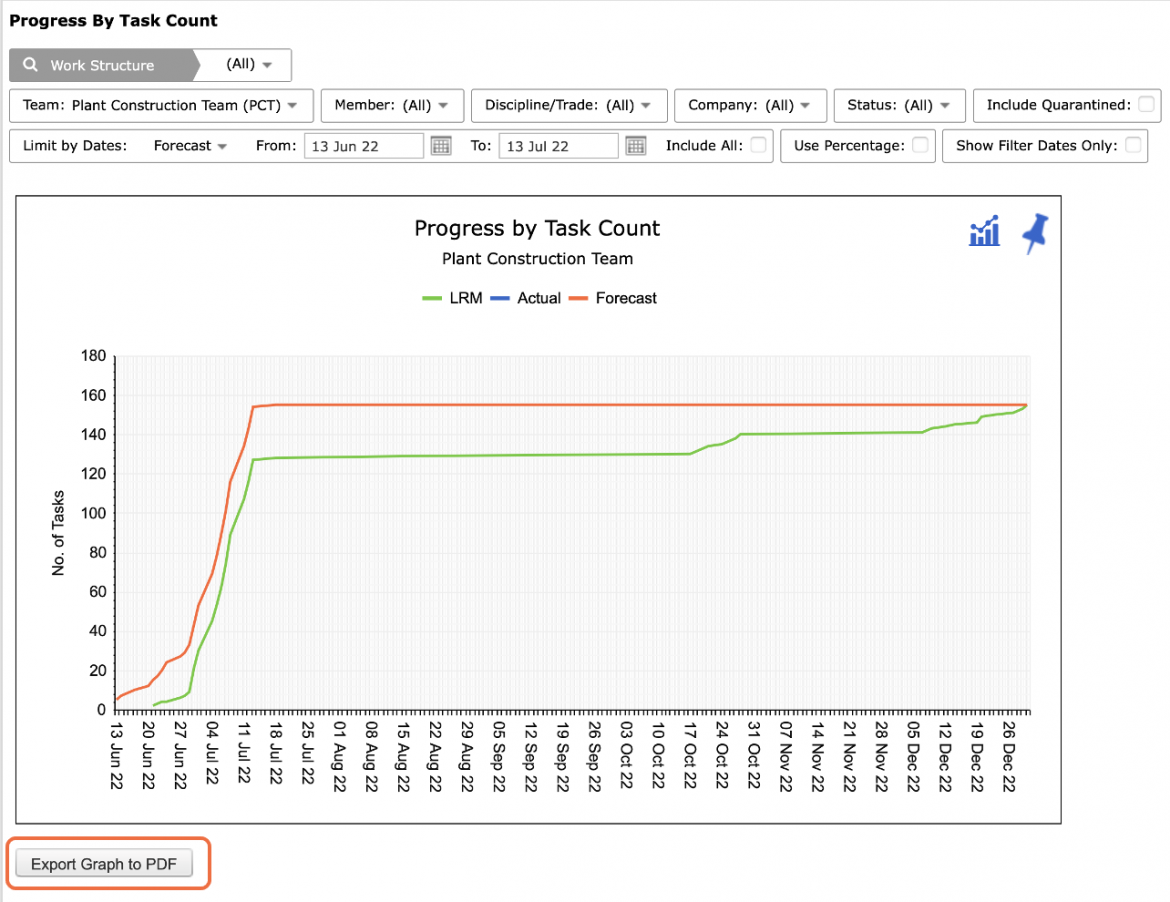
- To export the Progress by Task Count report to a PDF file, click the Export Graph to PDF button and follow the prompts according to the specific browser you are using.
- To print the Progress by Task Count report, options may differ based on your browser. For instance, if you are using Internet Explorer, right-click in the white space outside of the Progress by Task Count report and select Print from the menu or simultaneously press the Ctrl and P keys on your keyboard.
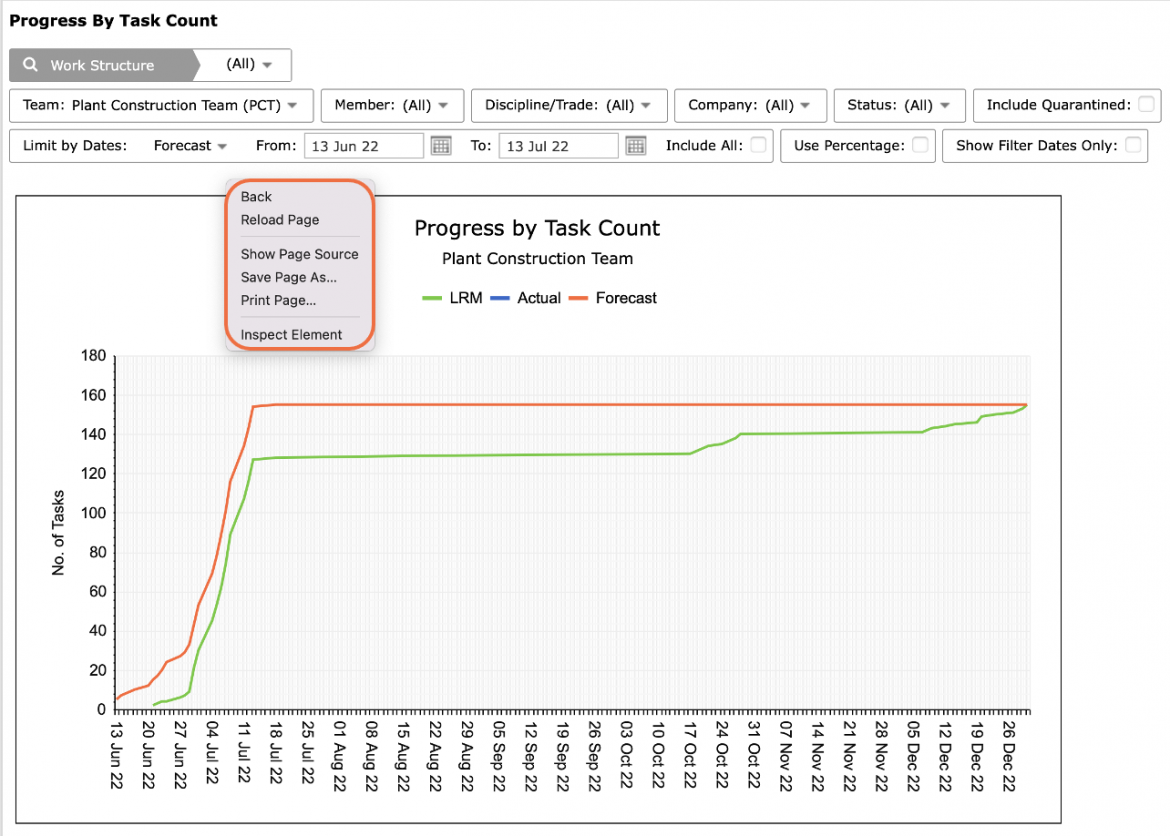
- The Print Dialogue box opens.
- Using the Print Dialogue box, change any desired print settings. Once all relevant printing settings have been modified, click the Print button.
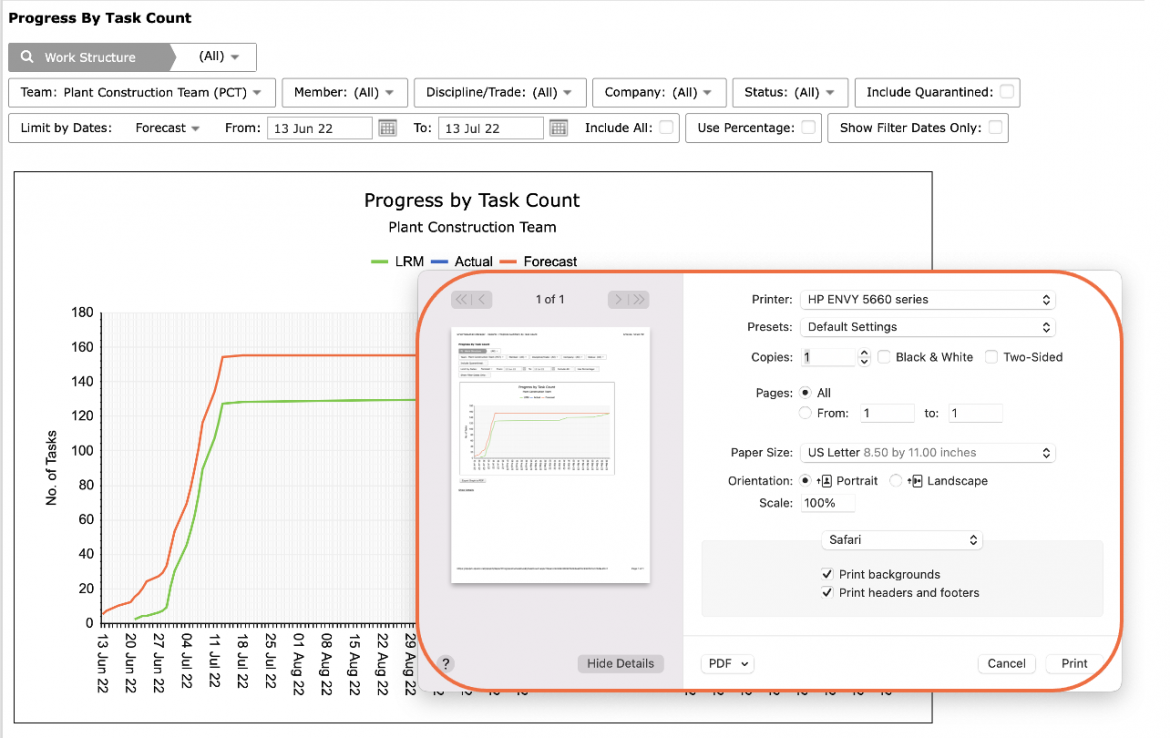
Note: Before printing, it is recommended you confirm the fit to the desired paper size.