In order to effectively support Project Production Control efforts including Lookahead integrity, the use of the Import function is carefully controlled; therefore, your System Administrator must request the functionality be enabled. Once enabled, the Import function can be used to import milestones and / or tasks from an existing source into SPS|PM via a Microsoft Excel template specifically configured for importing data.
To import Milestone / Task data from an existing source into SPS|PM, complete the steps below:
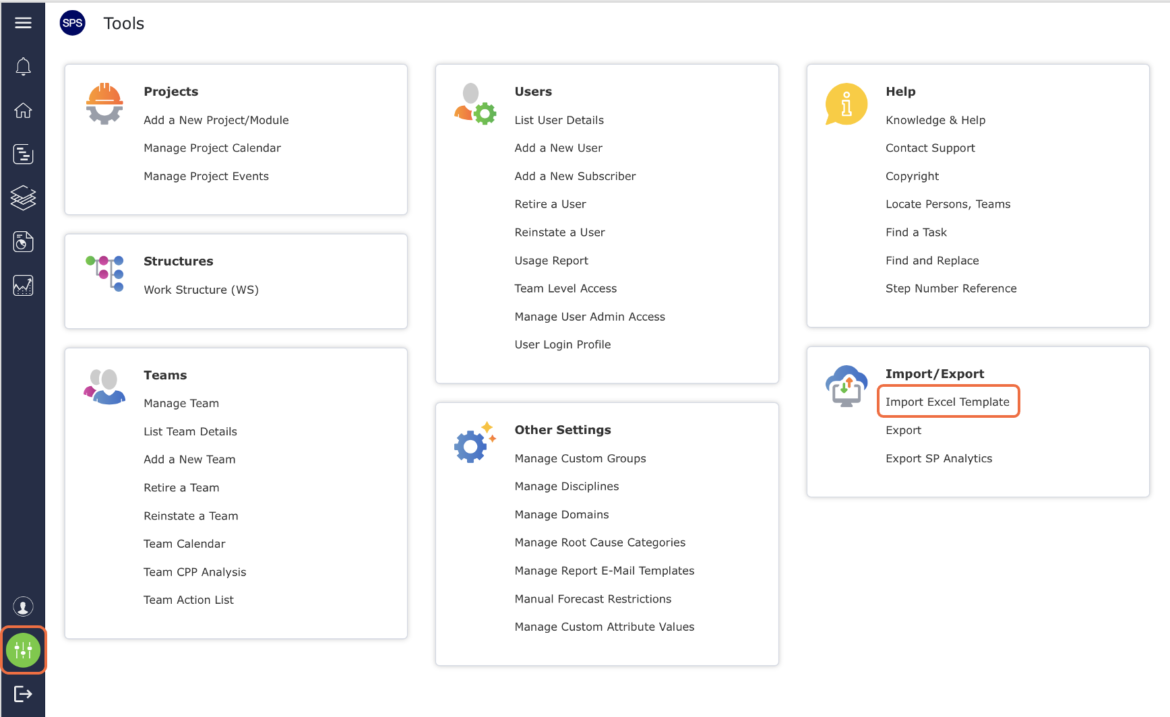
- From the Main Navigation Bar select Tools, then select Import Excel Template.
Note: If the Import Excel Template is not displayed, it means the functionality is not enabled. Contact your System Administrator to coordinate.
- The Import Data – Pending window will appear. Click the Download Excel Template link to download a complete template containing all the data titles based on the specific SPS|PM configuration for your project.

- Click the Save / Save As button to save the file and then open it, or click the Open button to immediately open the file.
Note: The Import Template type e.g., Microsoft Excel 97-2003, automatically aligns with the version accepted by SPS|PM. Therefore, it is important to save the file according to the automatic default type when initially downloading the template and any time later when the file is saved.
If the version of Microsoft Excel installed on your computer, and that of the Download Excel Template are not the same, a warning message will display as shown in the image below when you attempt to open the file. Click the Yes button to proceed with downloading the template.- The Import Template file will open as shown in the image below. If you initially opened the file without first saving it, the Import Template file will open in a Read-Only format. To save the file, from the Microsoft Excel Main Menu, select File then Save As, remembering to save the file according to the automatic default type as explained above.

Populate the Import Template with data under each data title listed in row 1 according to the data you desire to import. If you have questions about the definitions of each title, contact your System Administrator. Make sure the Excel file type is .XLS (versus .XLSX) or CSV, otherwise, SPS|PM will not recognize the import.
- Once the Import Template is populated with all necessary data, from the SPS|PM Main Menu, select the File Menu then select Import Excel Template. In the Import Data – Pending window, click the Browse button. Navigate and select the desired Import Template file then either double-click the file or click the Open button to select the file for import. The selected Import Template file name will appear in the Select Excel File field.

- To upload the selected Import Template file, click the Validate button.

The Import Data – Pending window will then change to an Import Data – Validation Processing window.
- If invalid data is found in the Import Template file during the validation process, the process will abort and the Import Data – Invalid Data Encountered window will display a message.
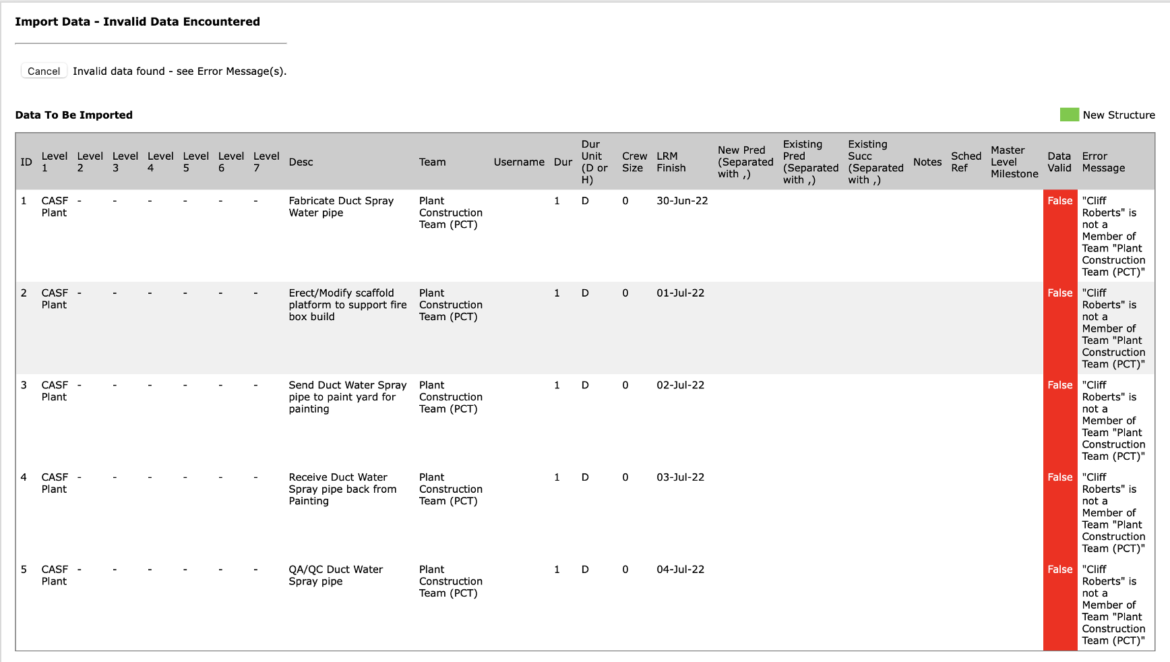
To locate the error, scroll to the rightmost column and then scroll down to the error message(s) as shown in the video below. Once you have found the error, correct it in the Import Template file and repeat the upload process as explained above.
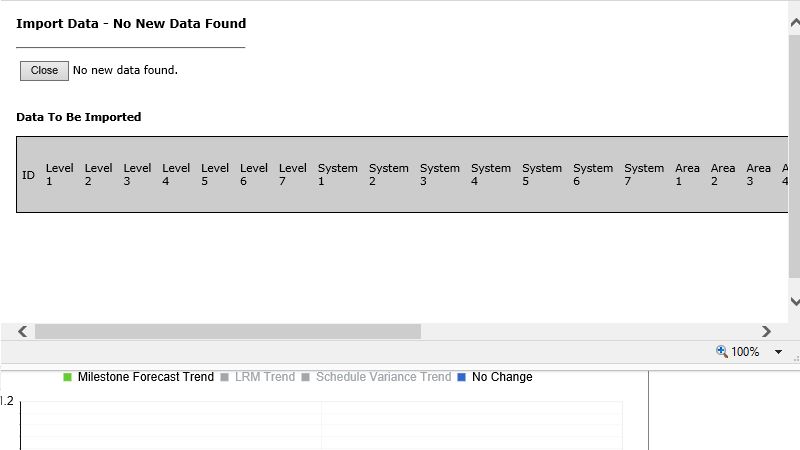
If no new data is found in the Import Template file or the Microsoft Excel version is not aligned with the version acceptable by SPS|PM e.g., .XLS vice .XLSX or .CSV, the Import Data – No New Data Found window will display a message as shown in the image below. In this case, review and correct the data in the Import Template file or re-save the file as .XLS and repeat the upload process as explained above.
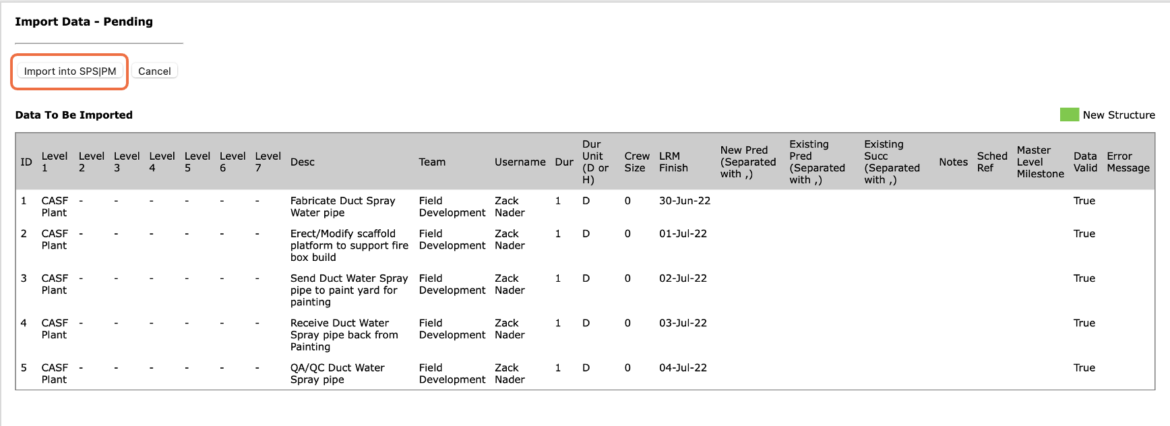
- If the upload process is successful, the Import Data – Pending window will display and the Data Valid column will display True for each row.
- To complete the upload, click the Import into SPS|PM button.
- The Import Data – Processing window will display the upload progress.

- When the upload is complete, the Import Data – Completed Successfully window will display as shown in the image below. Click the Close button to close the window.

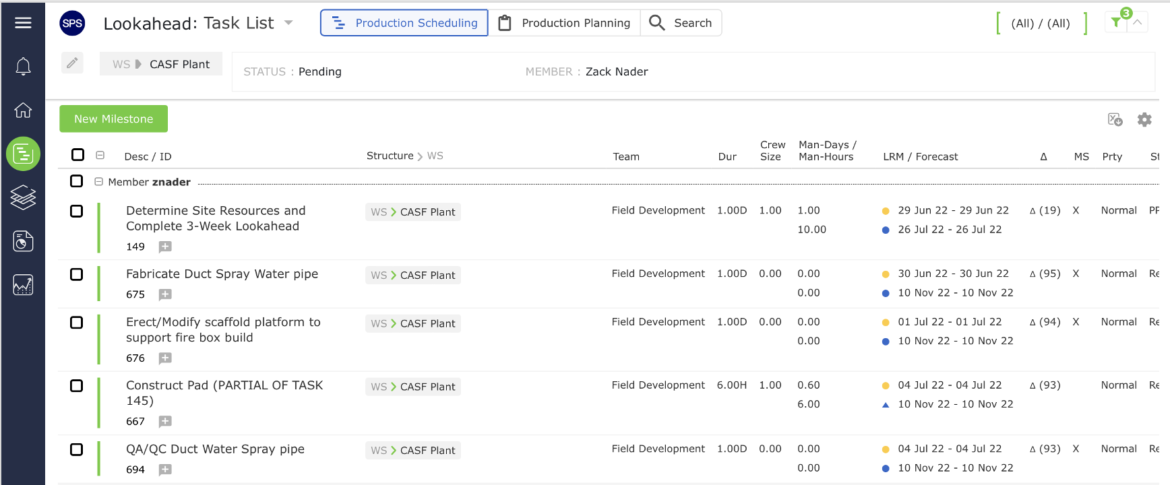
- The imported data will then be visible in the Lookahead view.