
As labor capacity is clearly defined across workflows and work completed on a regular basis, progress can be measured based on comparing the total number of Man-Days assigned for a specific process with the number of Man-Days of tasks completed (completed or completed-not-planned).
SPS|PM does this through its Progress by Man-Days Decision-Support Mechanism. The Progress by Man-Days report does not measure earned and burned hours, typically part of project controls. Instead, and for a given time period or process, progress is calculated through the following formula:

To access the Progress by Man-Days report, complete the steps below:
- From the Main Navigation Bar select Reports, then select Progress by Man-Days.

- The Progress by Man-Days report opens in a new window and automatically displays the report for the team selected under the Team Menu.
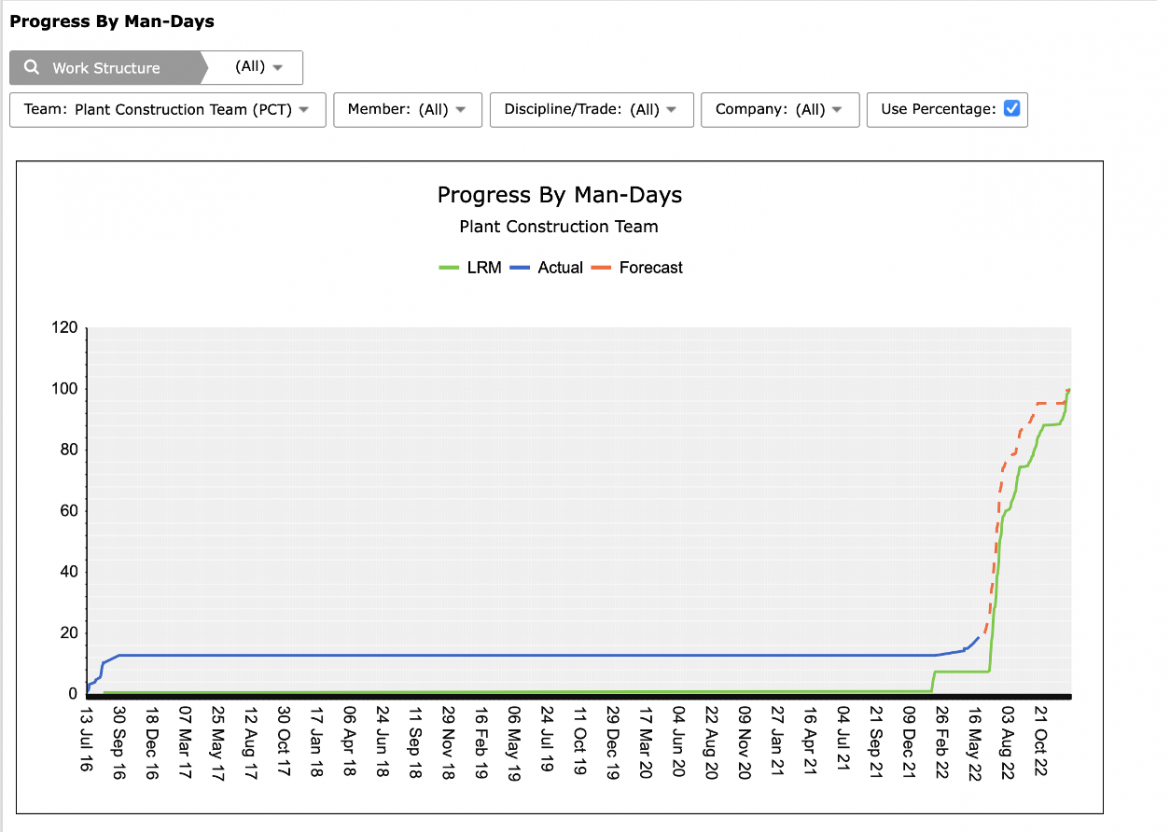
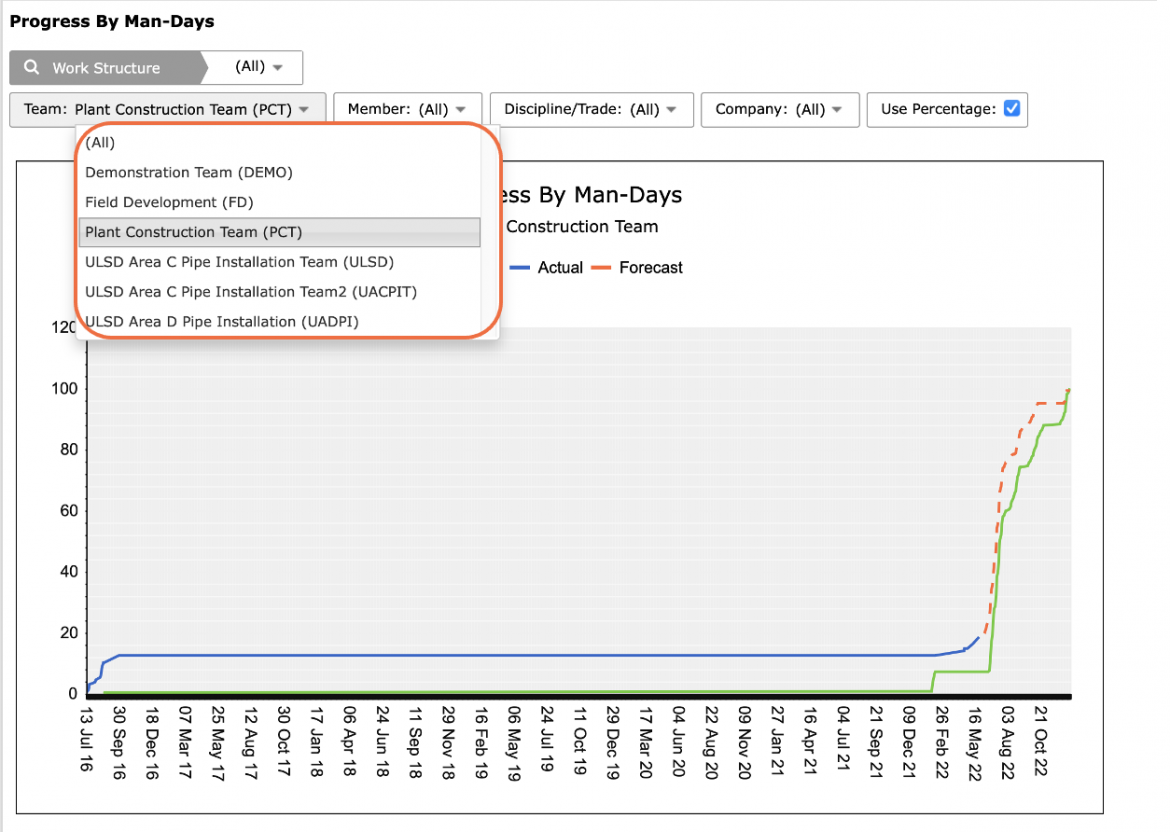
- To view the Progress by Man-Days report for another team, select the desired team under the Team drop-down.
The legend elements, LRM, Actual, and Forecast are clickable and toggle to display / hide data.
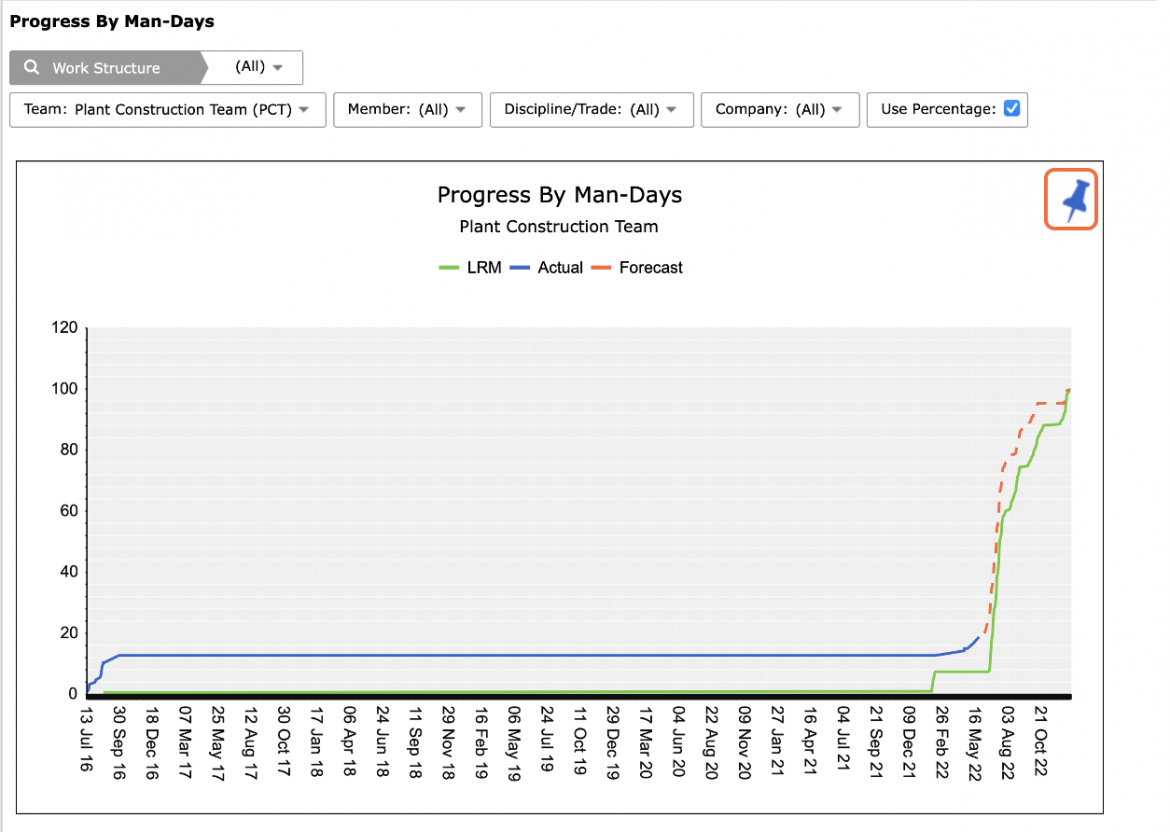
- Also, use the Pin icon in the top right of the graph to include the Progress by Man-Days report in your Dashboard.
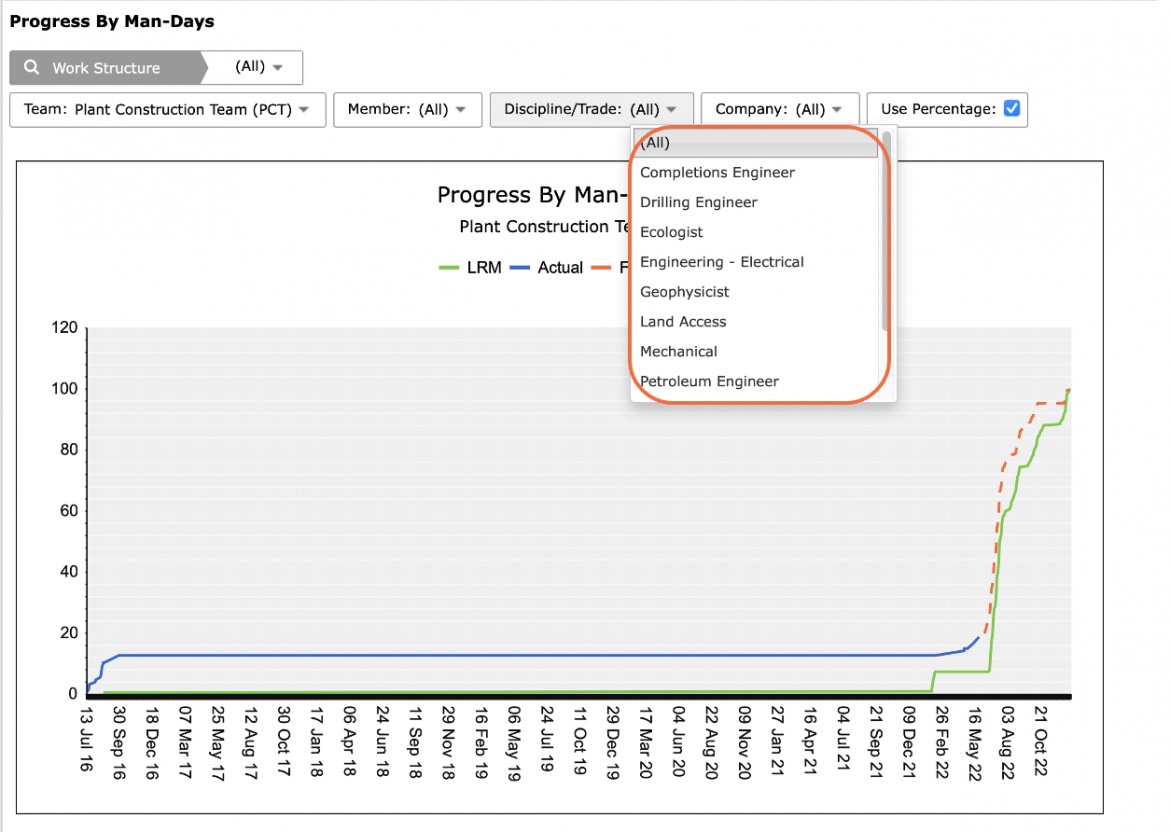
- Select Work Structure, Person, Discipline / Trade, and any other attributes, to filter for the desired data.
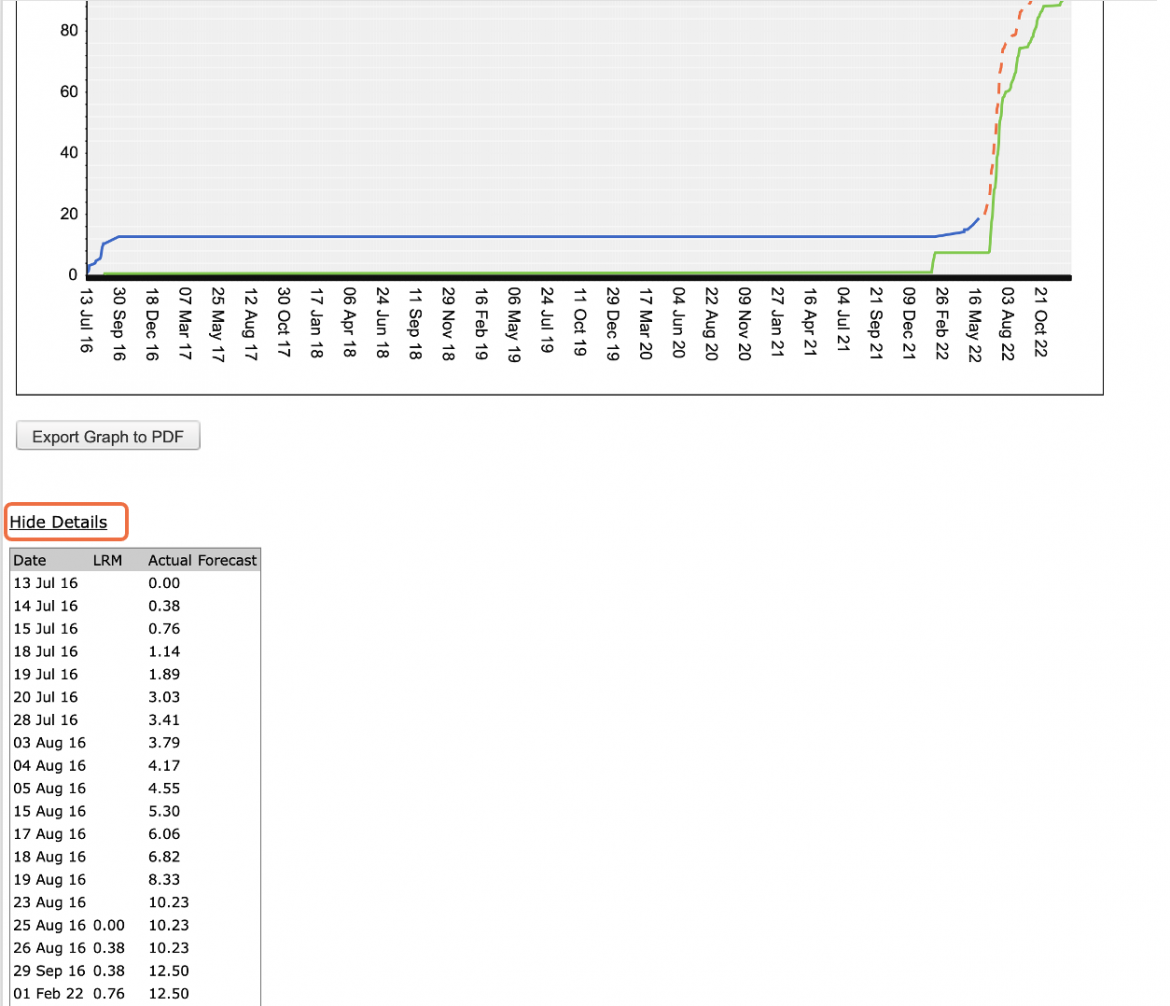
- To view the specific LRM, Actual, and Forecast values, click Show Details beneath the graph.
- The LRM, Actual, and Forecast values display below the graph. To hide the values, click Hide Details.
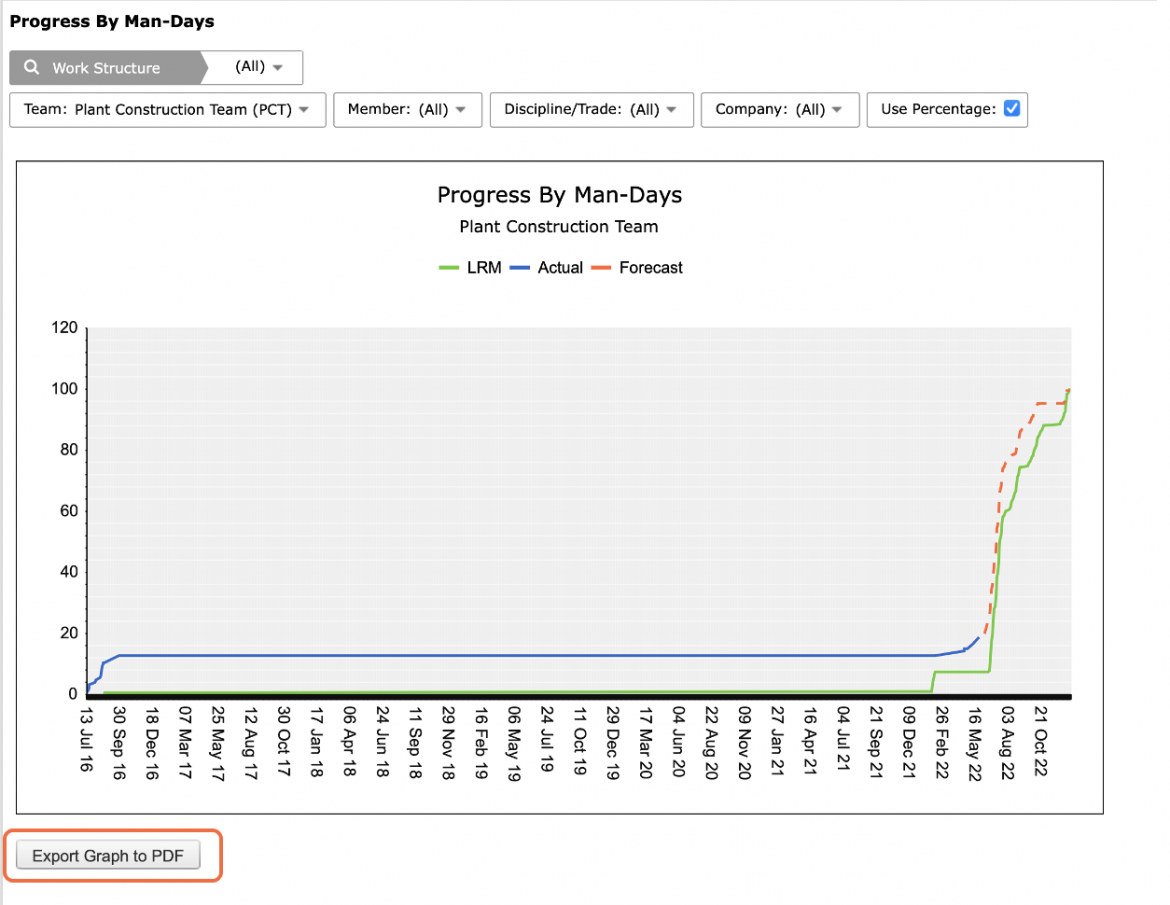
- To export the Progress by Man-Days report to a PDF file, click the Export Graph to PDF button and follow the prompts according to the specific browser you are using.
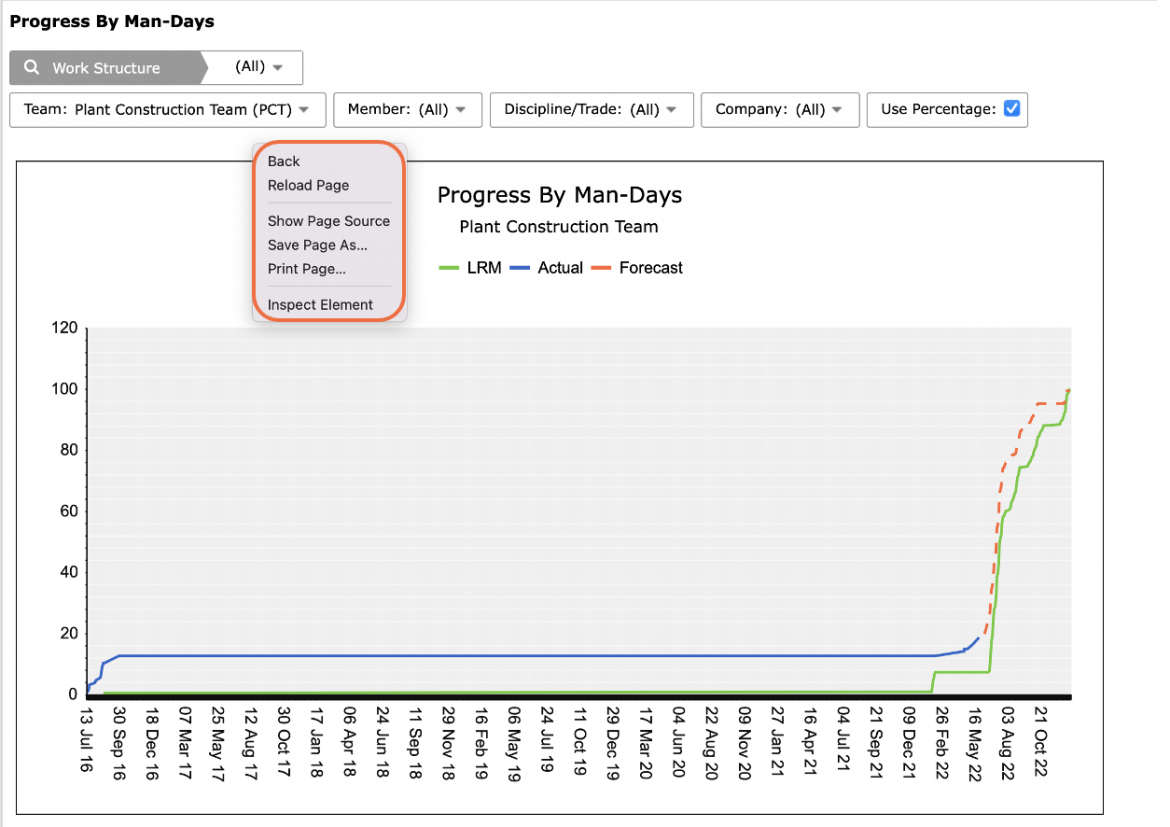
- To print the Progress by Man-Days report, options may differ based on your browser. For instance, if you are using Internet Explorer, right-click in the white space outside of the Progress by Man-Days report and select Print from the menu or simultaneously press the Ctrl and P keys on your keyboard.
- The Print Dialogue box opens.
- Using the Print Dialogue box, change any desired print settings. Once all relevant printing settings have been modified, click the Print button.
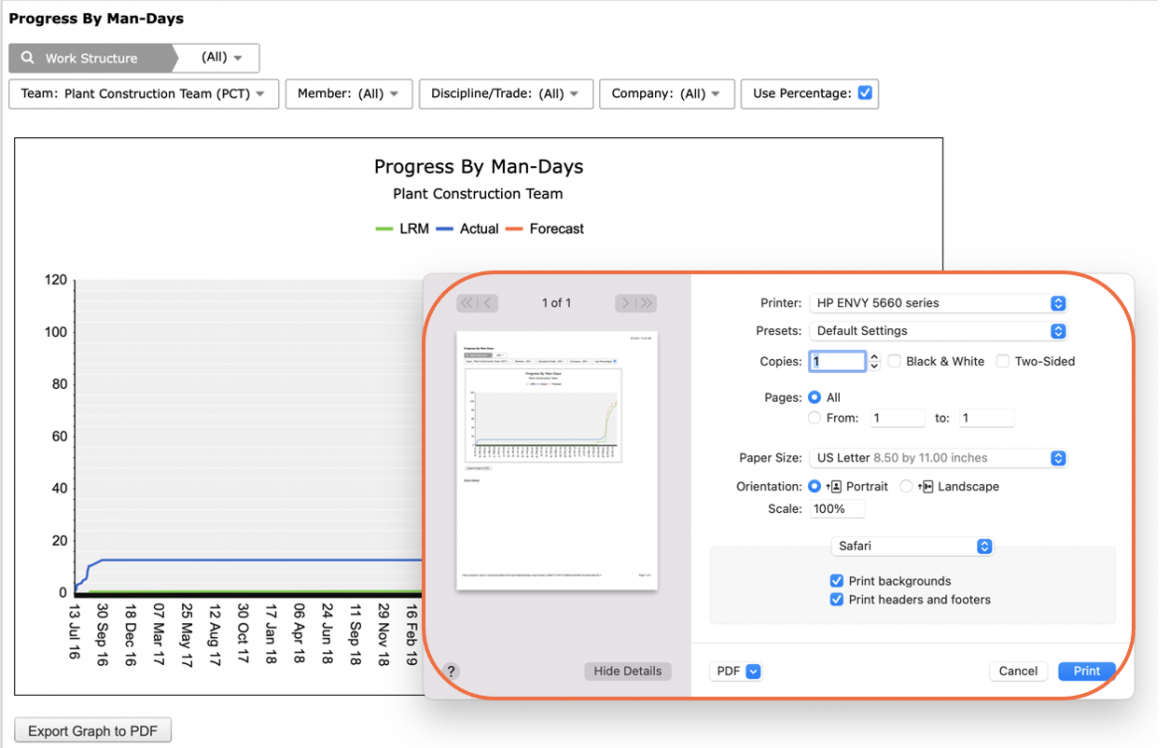
Note: Before printing, it is recommended you confirm the fit to the desired paper size.