
Understanding how project teams are progressing in the delivery of milestones is vital to ensuring the appropriate amount of work is being committed on each Production Plan e.g., daily, weekly, is sufficient to deliver milestones on time.
Schedule Variance provides a detailed status (early, on-time, late or complete) for each Master Level Milestone (and Milestone and / or Step No. depending on the specific SPS|PM configuration for your project) according to how work is planned and executed.
As long as Master Level Milestones are connected to one or more work streams and teams create and update Production Plans, Schedule Variance enables you to monitor how project teams are progressing against the completion of project milestones.
Schedule variance is the delta between the Last Responsible Moment (LRM) and forecast dates for a given Task / Milestone. Schedule variance is calculated based on the following formula:

Based on this, if the schedule variance results in a negative value (forecast date is beyond the LRM date), the Master Level Milestone is running late. If the schedule variance results in a positive value (forecast date is not beyond the LRM date), the completion of the Master Level Milestone is being forecast earlier than planned.
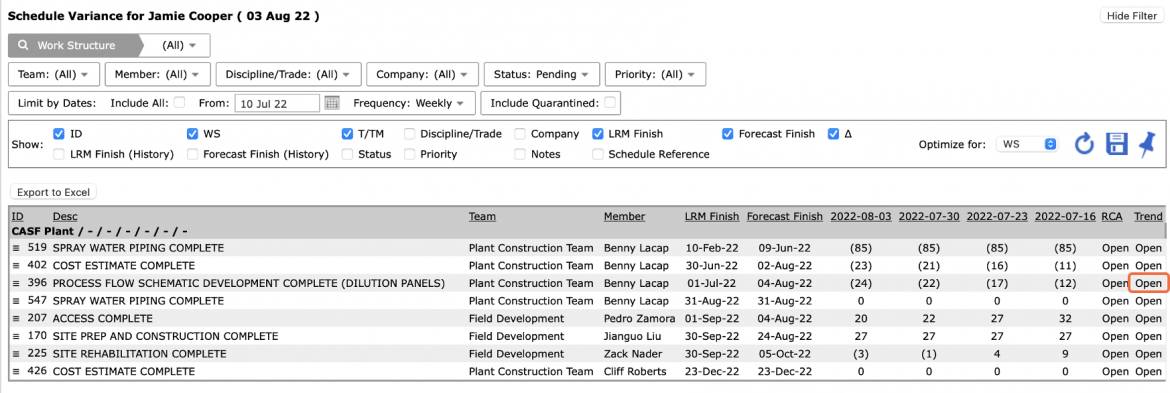
In SPS|PM, if a delta (Δ) for a Master Level Milestone is in parenthesis such as (30), this means the Master Level Milestone is running 30 days late compared to the LRM date the team has defined (this assumes the team has discussed and agreed on LRM dates). If the delta is not in parenthesis such as 10, this means the Milestone is 10 days ahead of the pre-defined LRM date.
It is critical to continuously review this Analytic in order to determine if the amount of work being committed on a daily basis is sufficient to deliver the Master Level Milestone by the LRM date. The SPS|PM Schedule Variance report is key for leadership to monitor how the adoption of Project Production Control contributes to earlier / on-time Master Level Milestone completions.
To access Schedule Variance, complete the steps below:
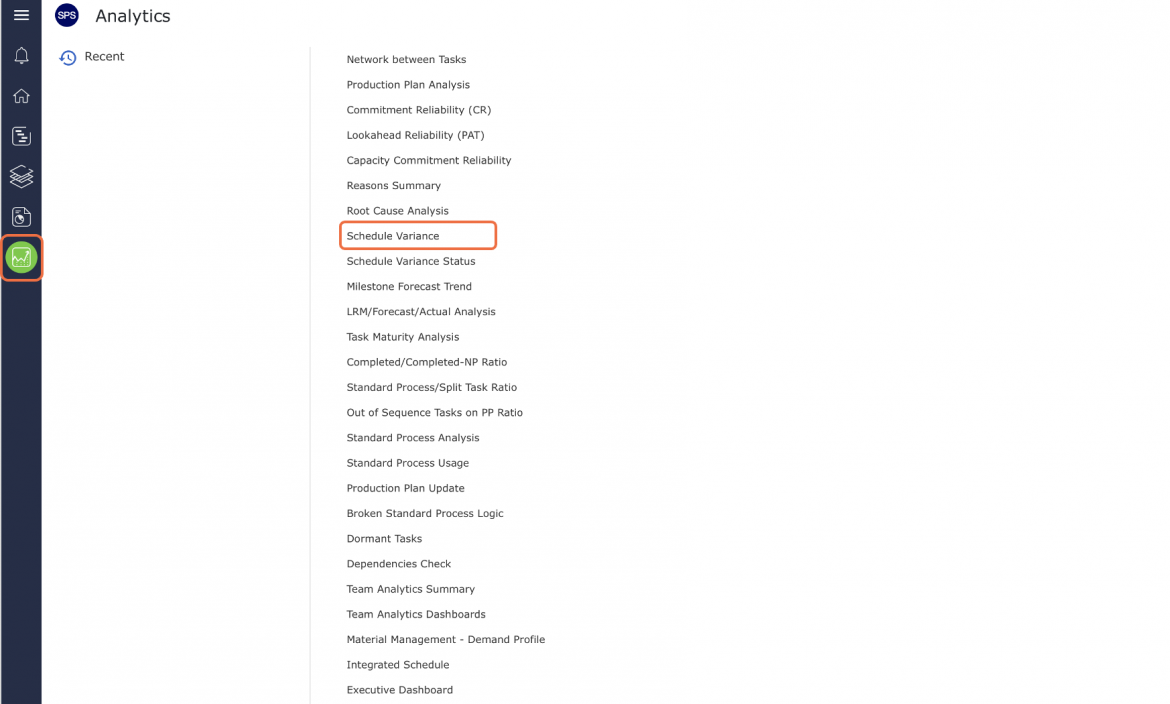
- From the Main Navigation Bar select Analytics, then select Schedule Variance.
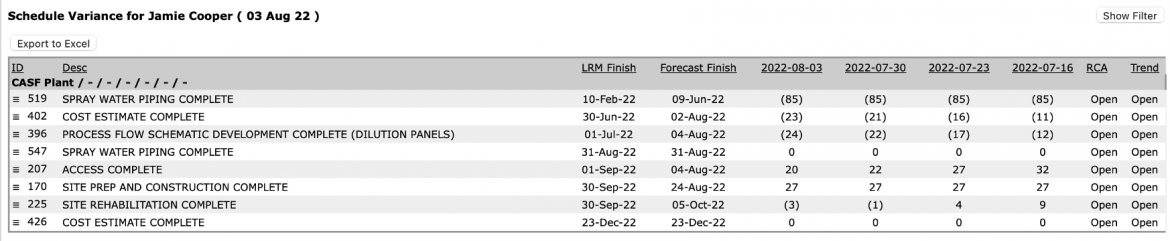
- Schedule Variance opens in a new window and automatically displays the Analytic for the team selected under the Team Menu with the current date as the default From date.
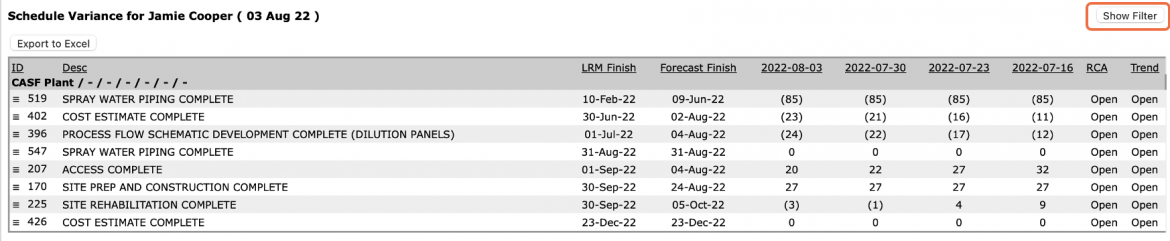
- Click the Show Filter button to display the filters above the Schedule Variance table.
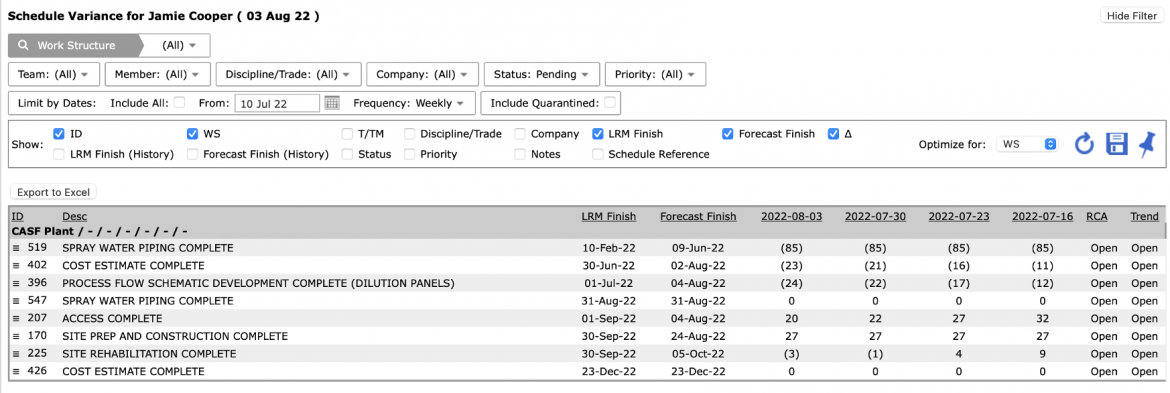
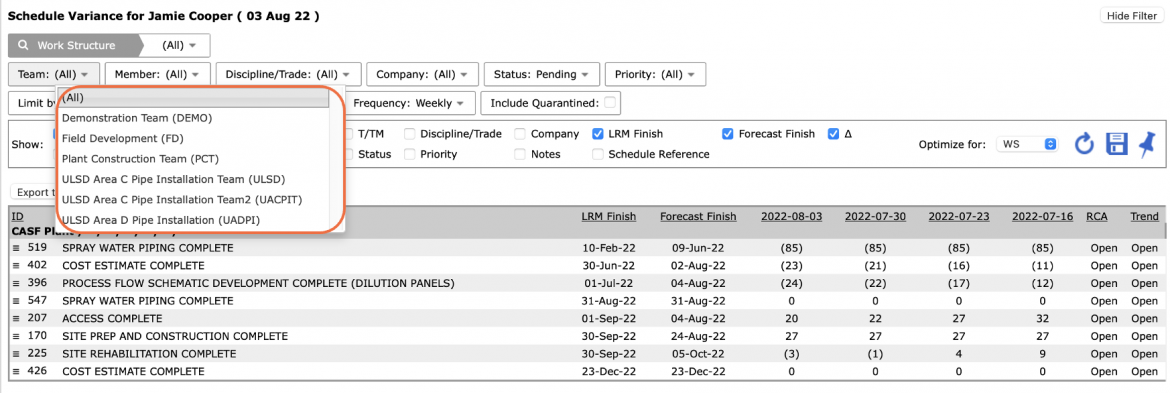
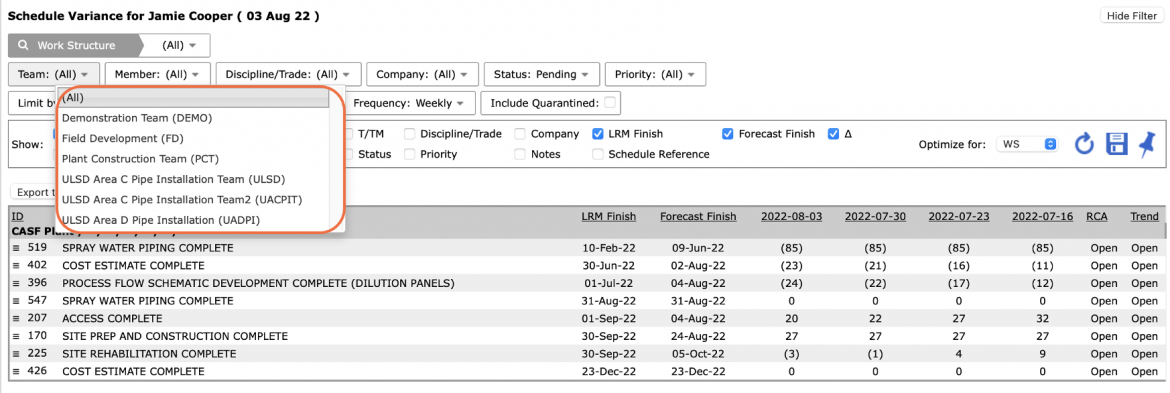
- To view Schedule Variance for another team, select the desired team under the Team drop-down.
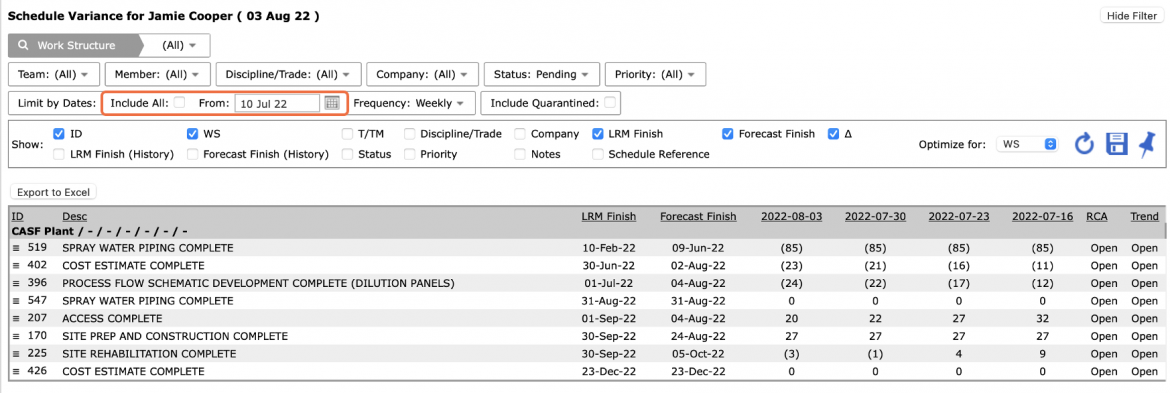
- If a different date range is desired, or no data is visible, adjust the From date or check: Include All, to show all historical data.
- For the selected team(s), Schedule Variance displays LRM Finish date, Forecast Finish date, Variance, and other relevant details for each Master Level Milestone.
- In addition to viewing Schedule Variance for a single team, to view an aggregate Schedule Variance for all teams select: All, under the Team drop-down.
- To view the specific team associated with each Master Level Milestone, or other attributes, click the T/TM checkbox and any additional desired attributes within: Show.
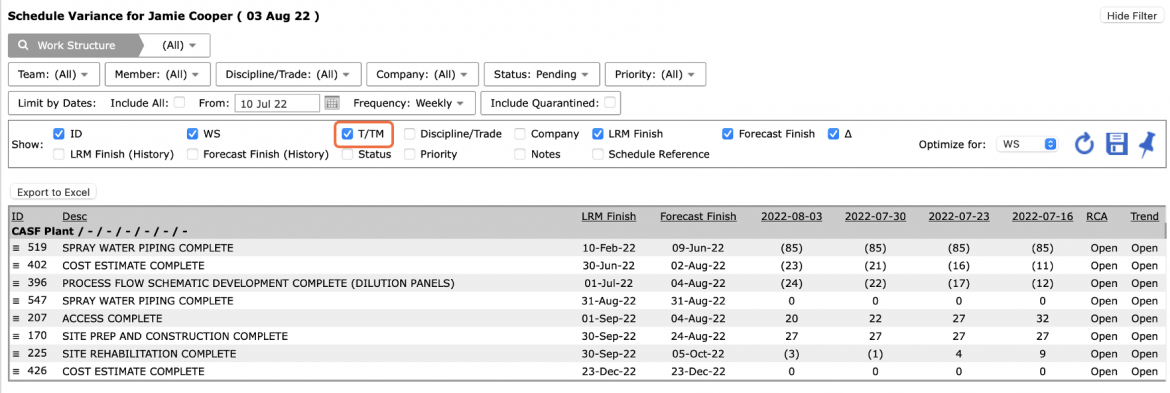
Then click the Refresh button.
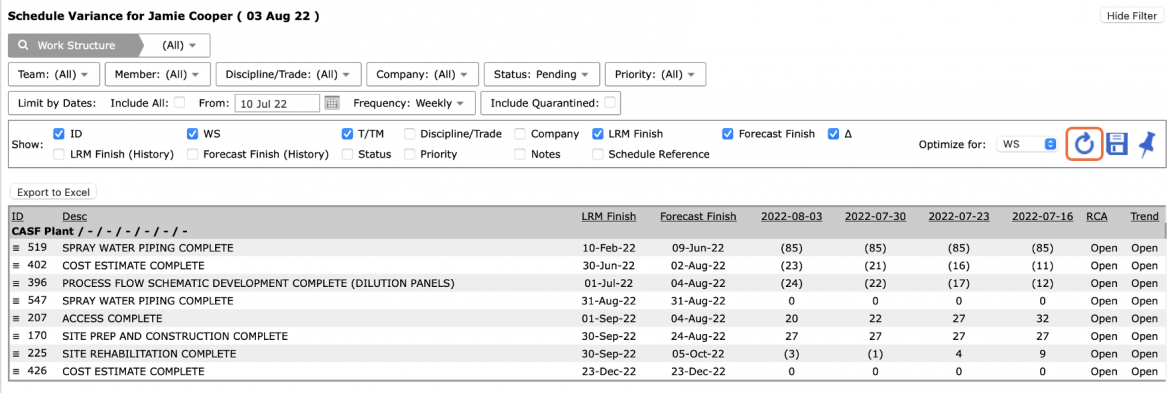
An additional column(s) appears in the table which lists the selected attributes for each Master Level Milestone.
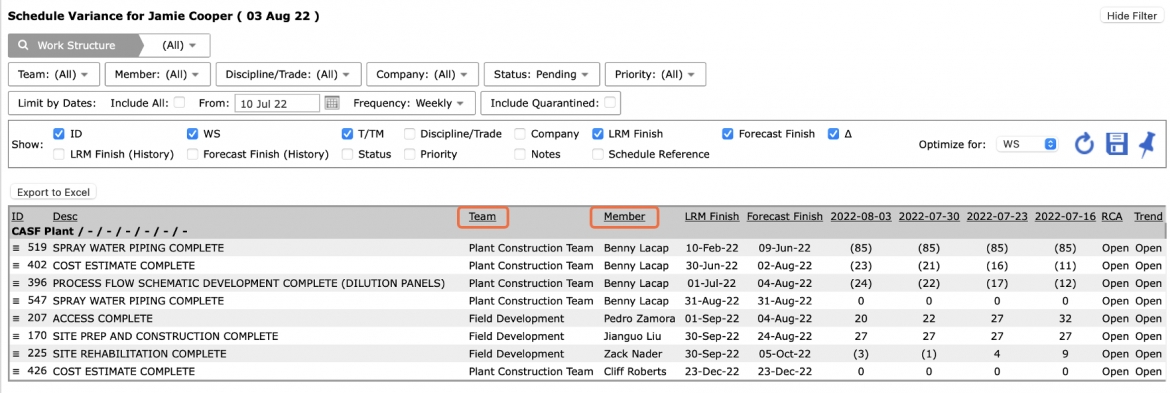
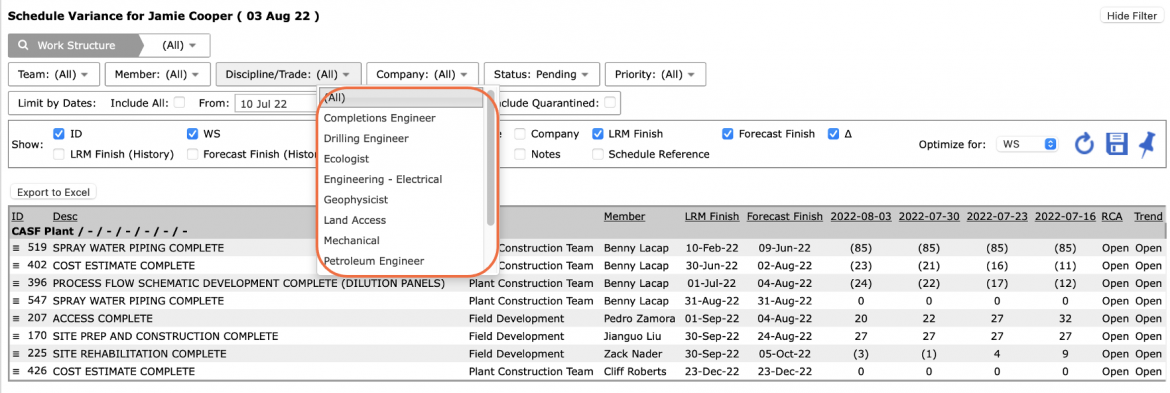
- You can also filter by Member, Company, Discipline / Trade, Work Structure, and Status.
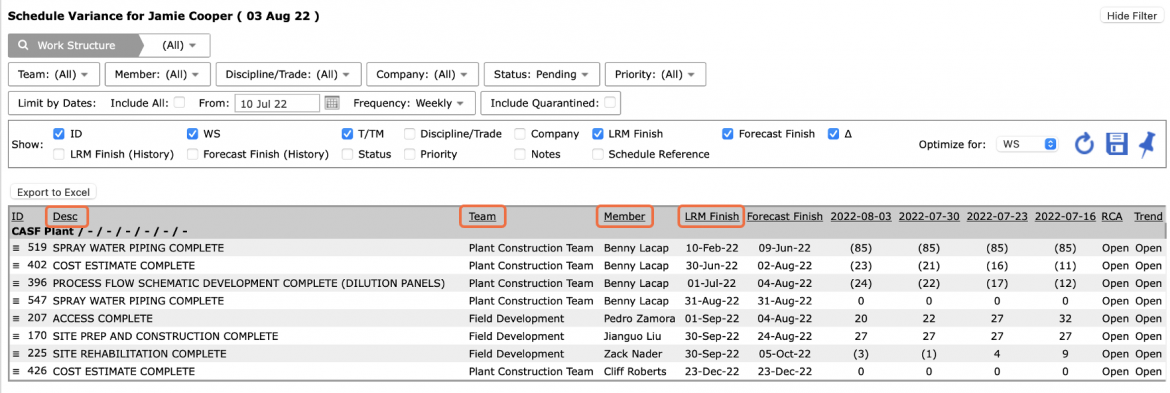
- To sort the data in the table by any of the column headings, click once on any heading to sort in ascending order. Click again to reverse the sort.
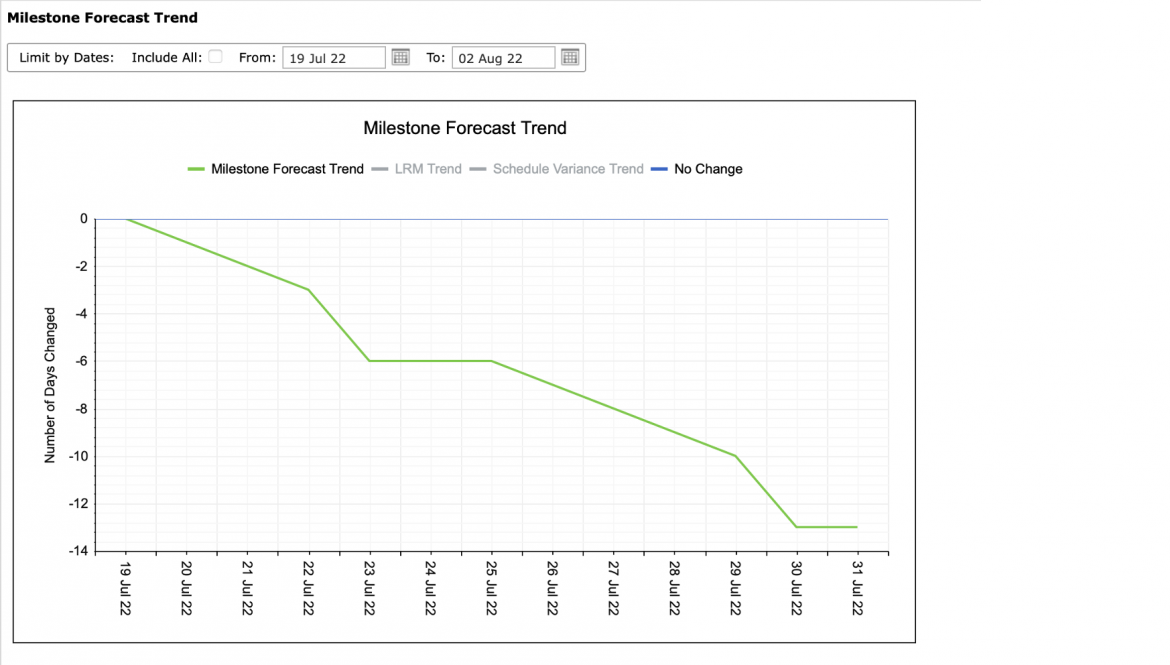
- To access a graphical trend of the schedule variance for a given milestone click on the respective: Open link, under the Trend column.
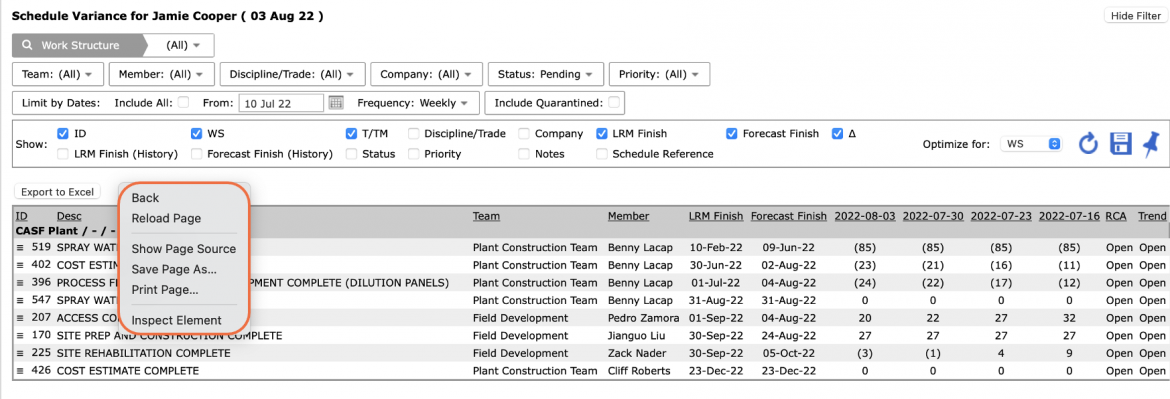
- To print Schedule Variance, options may differ based on your browser. For instance, if you are using Internet Explorer, right-click anywhere on Schedule Variance and select Print from the menu or simultaneously press the Ctrl and P keys on your keyboard.
- The Print Dialogue box opens.
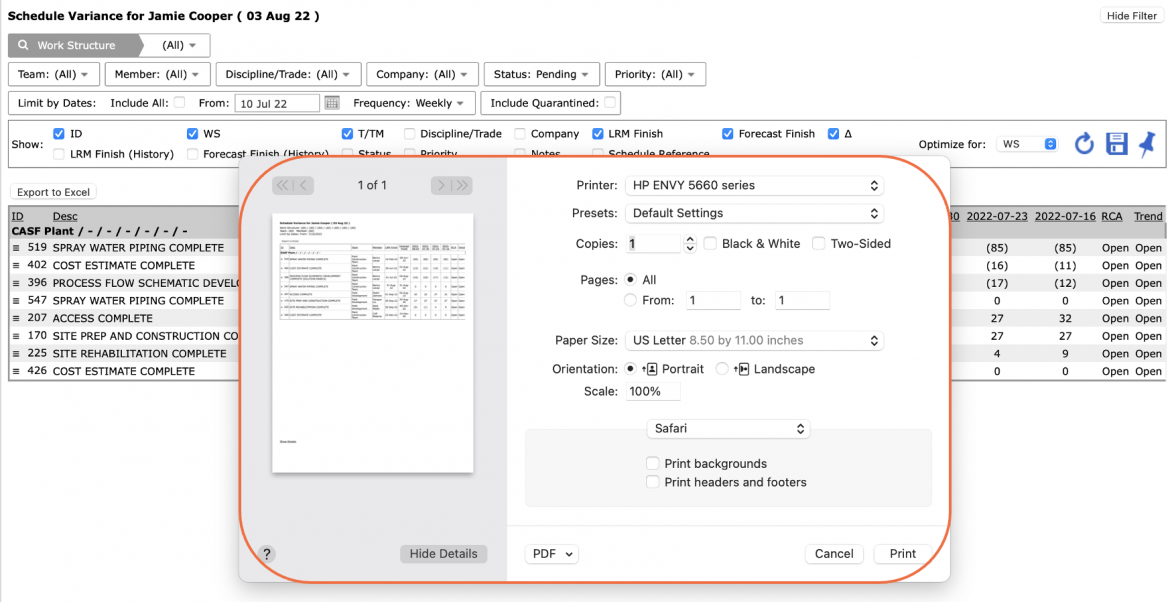
- Once all relevant printing settings have been modified, click the Print button.
Note: Before printing, it is recommended you confirm the fit to the desired paper size.